With Christmas just a few days away, I’m sharing a quick and easy DIY project that will add a punch of color and a fresh dose of greenery to your home. If you checked out my recent post on last-minute Christmas decorating ideas, this project is the perfect follow-up. And if you remember my last DIY endeavor featuring dip-dyed gift tags, you know how much I love neon! Today I’m combining neon flair with hassle-free style to create a modern DIY Christmas centerpiece that you can enjoy well into the new year. Read on for all the details…
DIY Christmas Centerpiece Supplies
Here’s what you’ll need to get started…
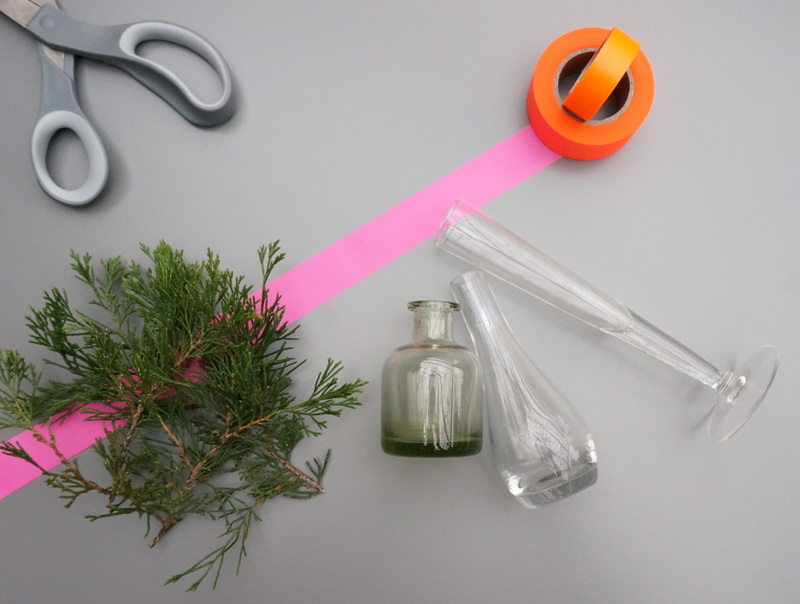
- glass vases
- fresh greenery
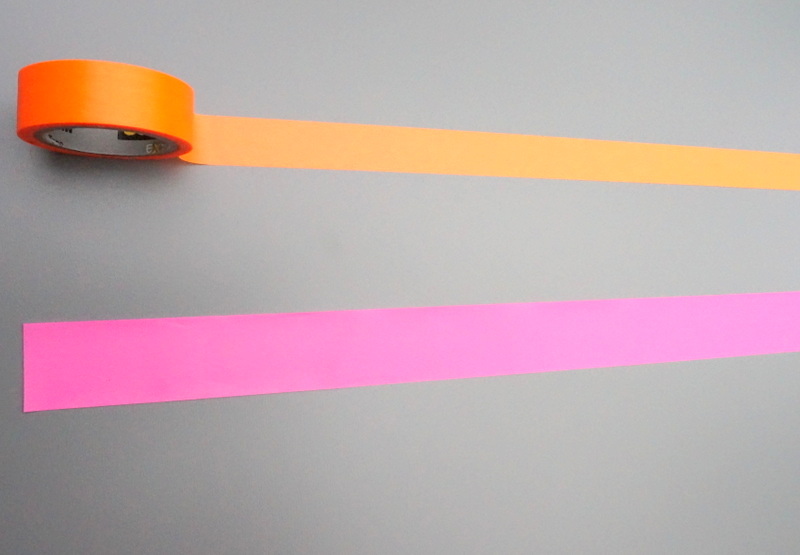
- neon washi tape and/or flagging tape
- double-sided tape and/or hot glue
- scissors

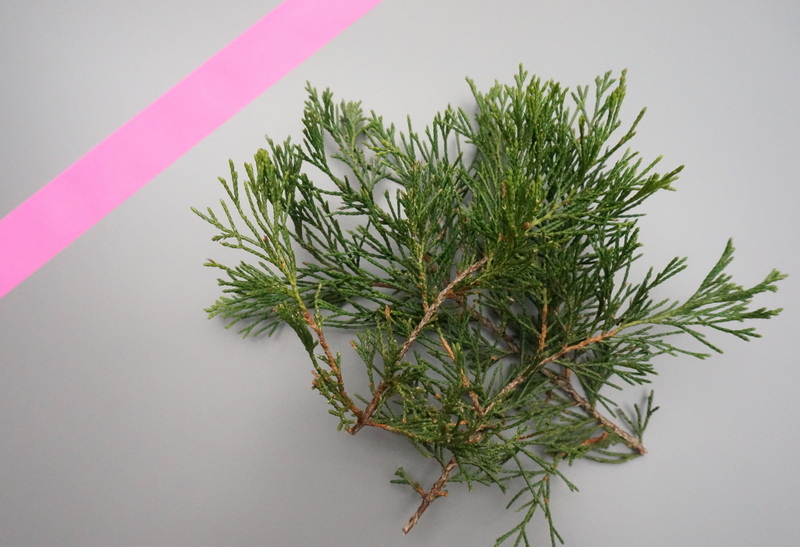
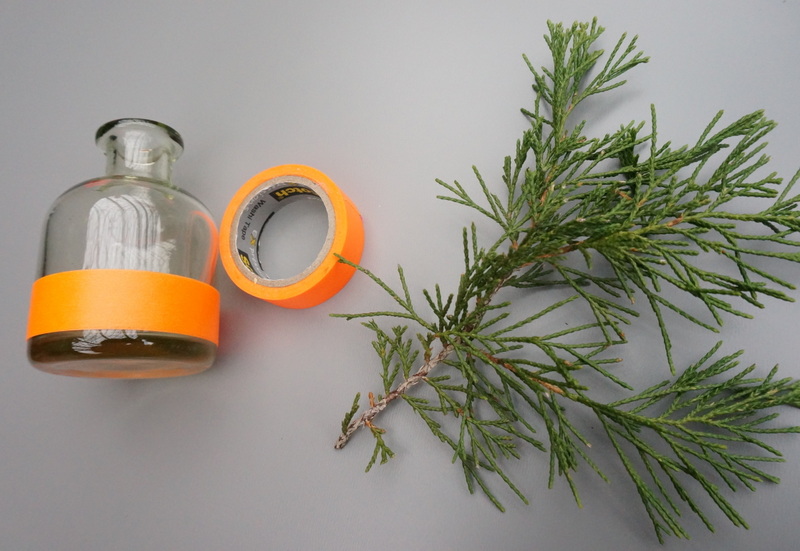
I cut the greenery from a tree in my backyard, but you can find fresh greenery for sale at many different places this time of year. In fact, some home improvement stores that sell Christmas trees even let you have (for free!) tree greenery that has fallen to the ground. And if you have a real Christmas tree, you can always snip off a few pieces of greenery for this project.

Washi tape is one of my all-time favorite DIY items. There are some amazing tutorials involving wall murals with this wonder supply, but we’re keeping it simple today with a couple of rings around a vase! And neon flagging tape is readily available at home improvement stores. It’s not sticky like most tape–it’s more like ribbon. Hence the need for double-sided tape or hot glue to complete this project!

Project Steps
This is an easy project, folks! But I still like to break my projects down into helpful steps, so here goes…
Step 1: Gather your greenery, vases and tape.
If possible, use items you already have to make this project budget-friendly. I used small vases that I’ve collected over time, and as mentioned, the greenery is from my backyard! I also had the washi tape and flagging tape from previous projects, but these supplies are inexpensive should you need to buy them.

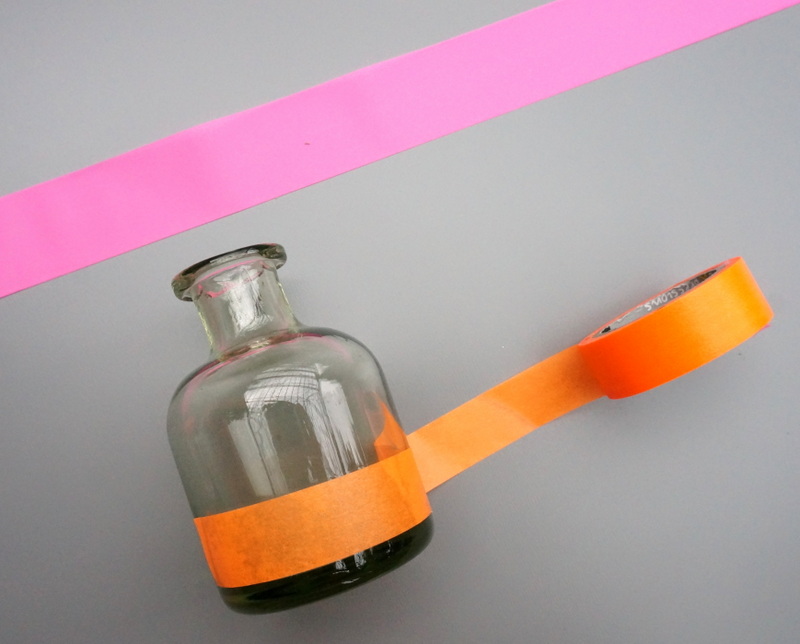
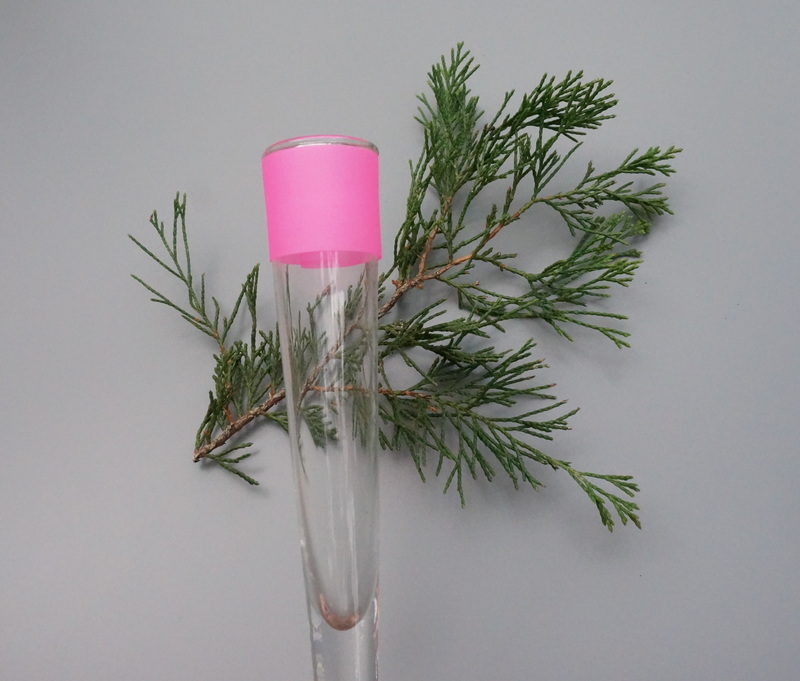
Step 2: If working with washi tape, simply wrap it around a section of your vase, layering it to increase the vibrancy of the color.
Washi tape can be thin, so you will likely want to wrap the tape around the vase 2-3 times to get a more saturated color result. Trim off any excess tape, and you’re done!

Step 3: Continue wrapping your vases in washi tape or flagging tape until each piece is decorated to your liking.
If using flagging tape, you will need to secure it to the vase at the back with an adhesive. I used double-sided tape to initially secure the tape, and when finished wrapping (I wrapped it around the vase 1-3 times, depending on the vase), I used either additional double-sided tape or a dab of hot glue to hold the wrapped tape in place. I didn’t worry too much about the tape or glue being visible, since it will only be at the back of the vase, which you can’t see once the vase is on display.

For my tall, skinny vase, one layer of flagging tape was all I needed! And one piece of double-sided tape was all it took to hold it in place.

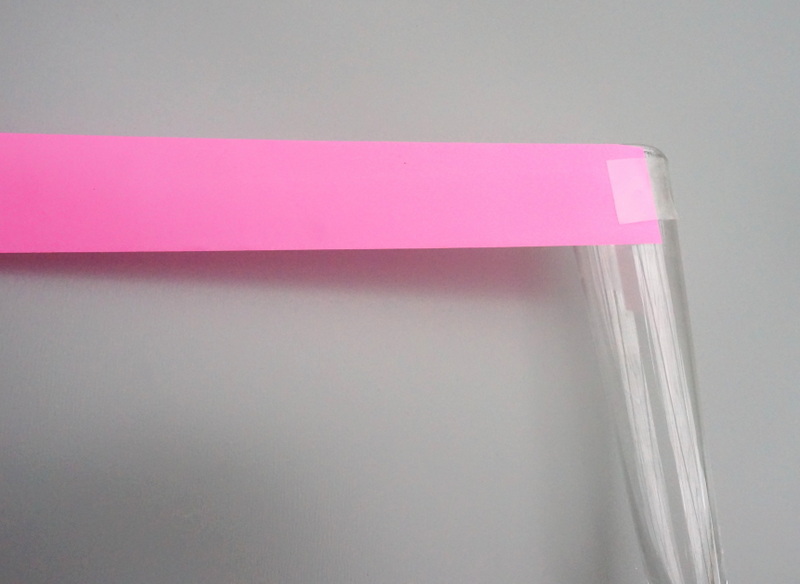
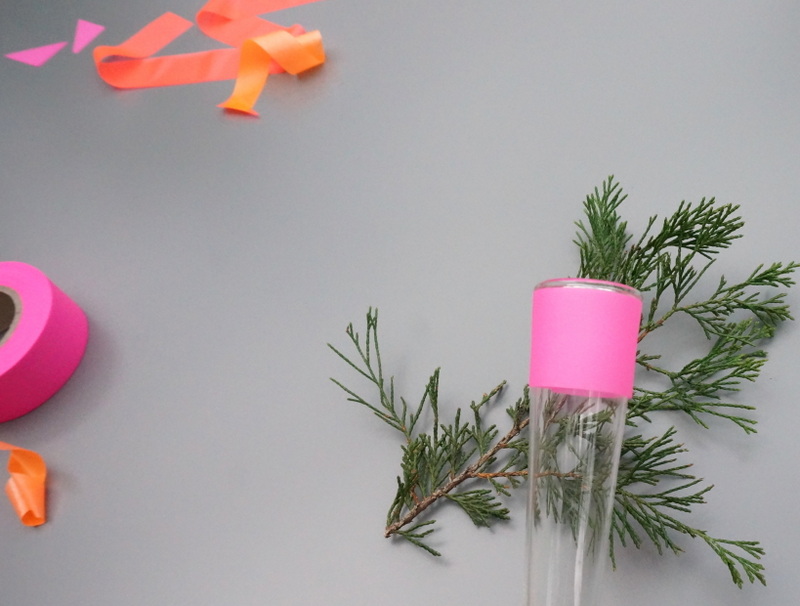
You can see the tape trimmings in the image below. Working with flagging tape can be just as challenging as working with washi tape when it comes to creating a smooth layer of coverage. Take your time and re-wrap the vases as needed to avoid bumps. This project is so quick, you can afford to spend a minute or too getting a smooth, even ring of color around your vases!

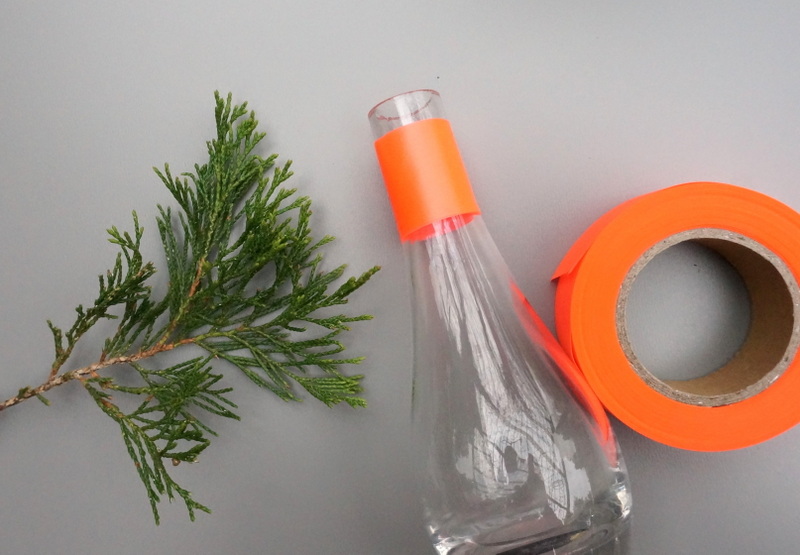
Below we see a vase decorated with neon orange flagging tape. The shape of your vase will determine where you wrap the tape. Some parts of the vase may be too curved for the tape to neatly fit. Try out a few spots until you find a smooth surface where the tape can rest flat.

Step 4: Fill your vases with greenery and display them with pride.
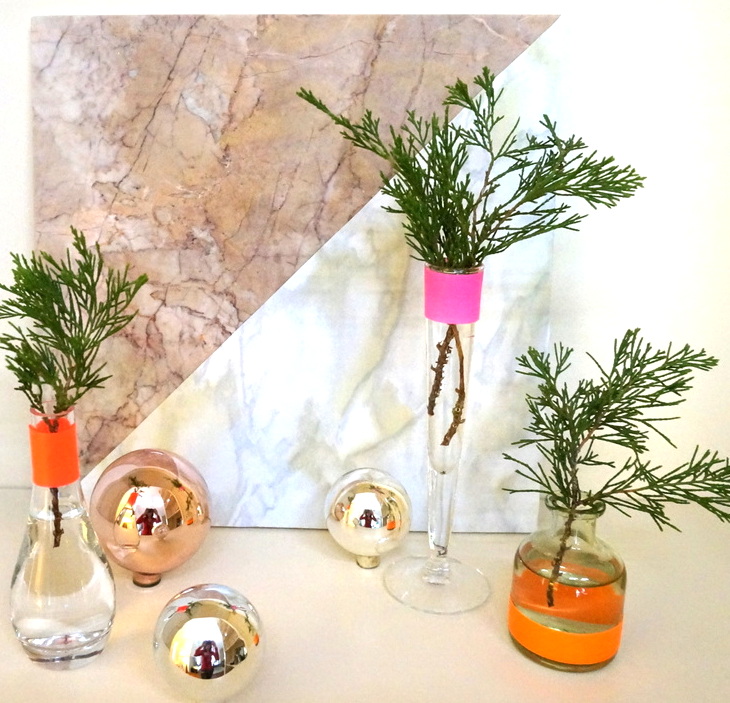
This is the fun part! If you use small vases like I did, it helps to have a few of them available so you can create a colorful grouping.

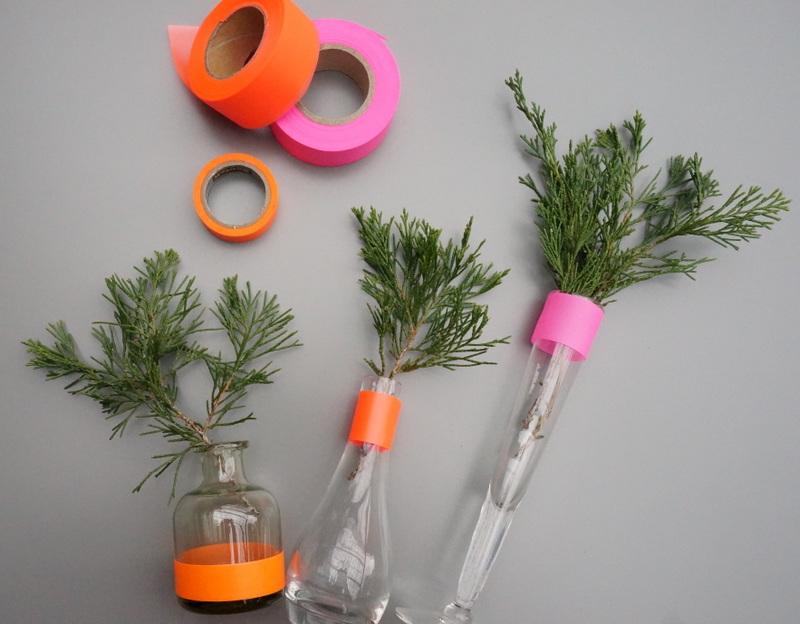
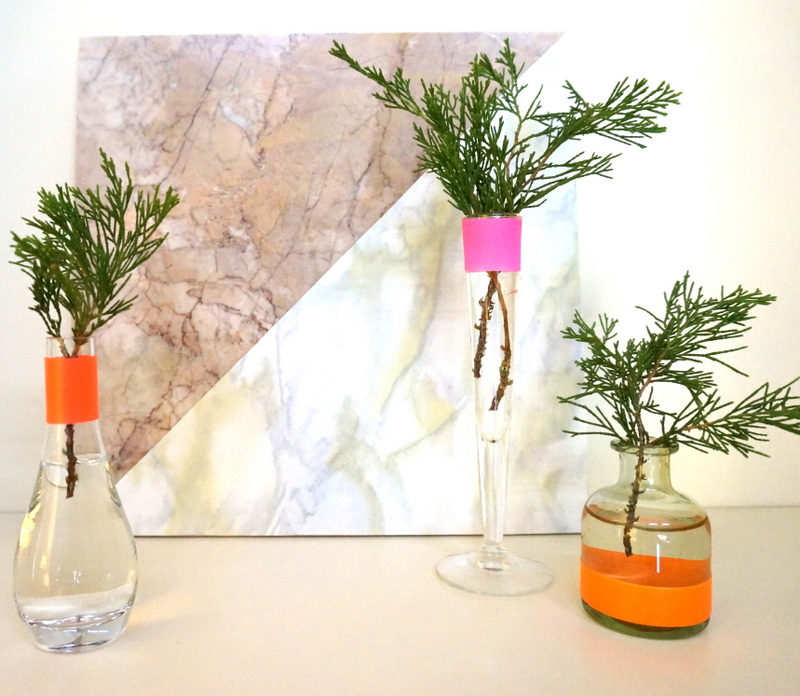
Here’s my trio of neon vases. I arranged them on a shelf with a marble tile backdrop, but the vases would also look lovely on a tabletop, especially if you’re trying to create a holiday centerpiece:

As a bonus, remove the tops of several glass ball ornaments and set the ornaments top-down on the surface of your choice along with the vases. This simple strategy adds instant shine and whimsy to your centerpiece arrangement!
You can leave your centerpiece on display well past Christmas, as the neon colors are hardly holiday-specific, and the greenery is winter-perfect. Here’s to a happy, creative holiday season!