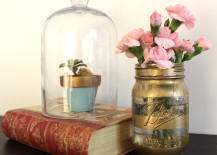
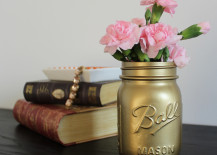
Has anyone ever told you that you “clean up nice”? Though the phrase leaves something to be desired grammatically, it’s generally a compliment, and one that’s actually very appropriate when describing mason jars. Whether you’re in Brooklyn or Berlin, you’ve probably seen these hipsterish receptacles being used as rustic vases or cups — heck, the New York Times even published an entire article about their popularity — but did you know that mason jars can get dressed up too? All it takes is a bit of gold spray paint to transform this backyard BBQ staple into glamorous gilded glassware. Read on for our DIY tutorial showing you how to create fancy gold mason jars to add a touch of shimmer to your home for the holidays.


DIY Gold Mason Jar Supplies and Steps
Here’s what you’ll need to get started…
– mason jars (you can also use recycled glass jars from your pickles or other preserved foods)
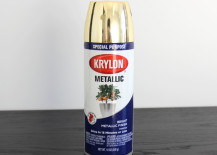
– gold spray paint with a metallic finish
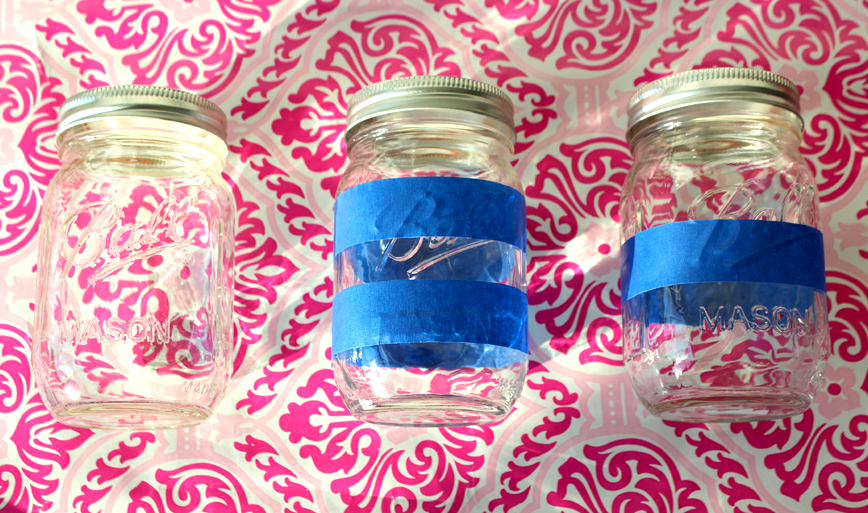
– masking tape (if you want to create striped mason jars)
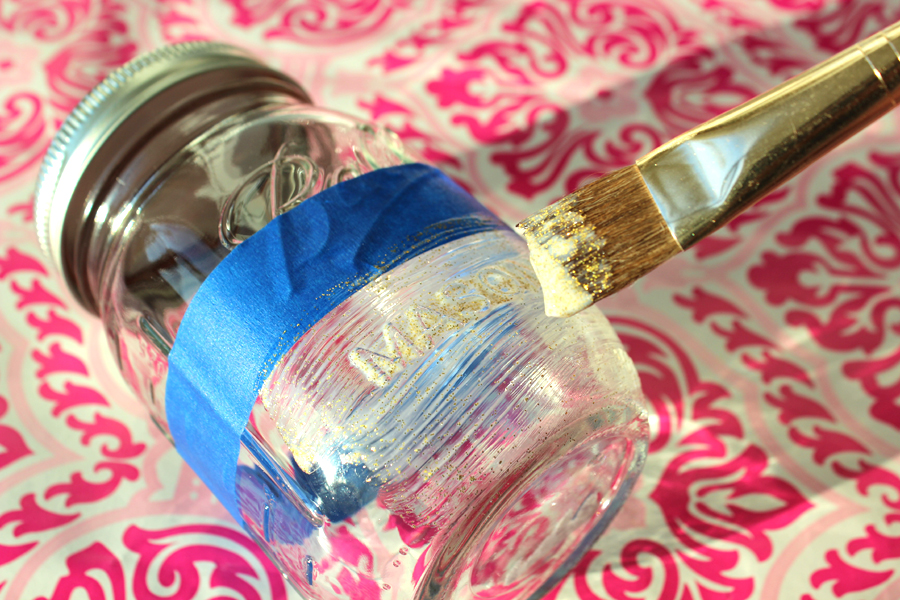
– gold glitter paint (optional)
– newspapers or a drop cloth to protect your surfaces
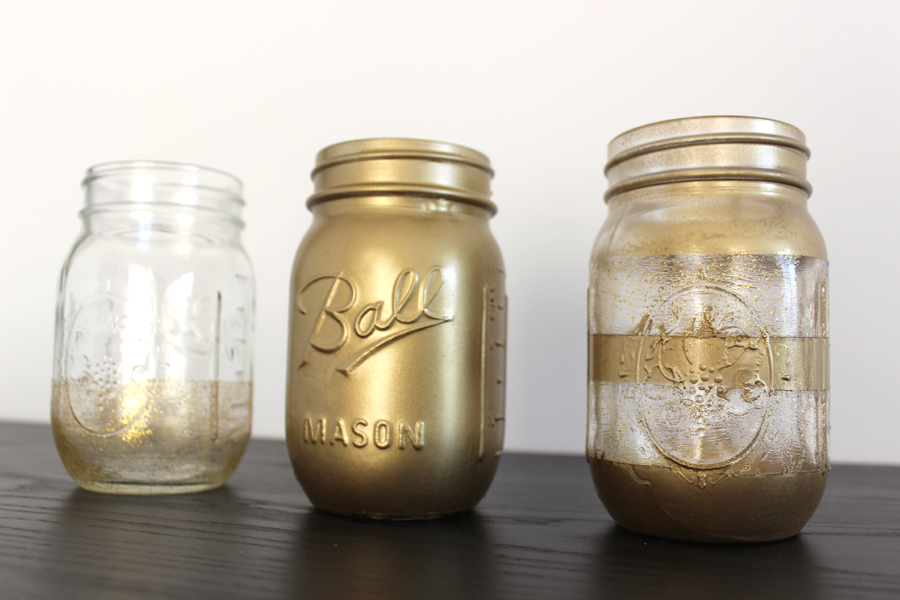
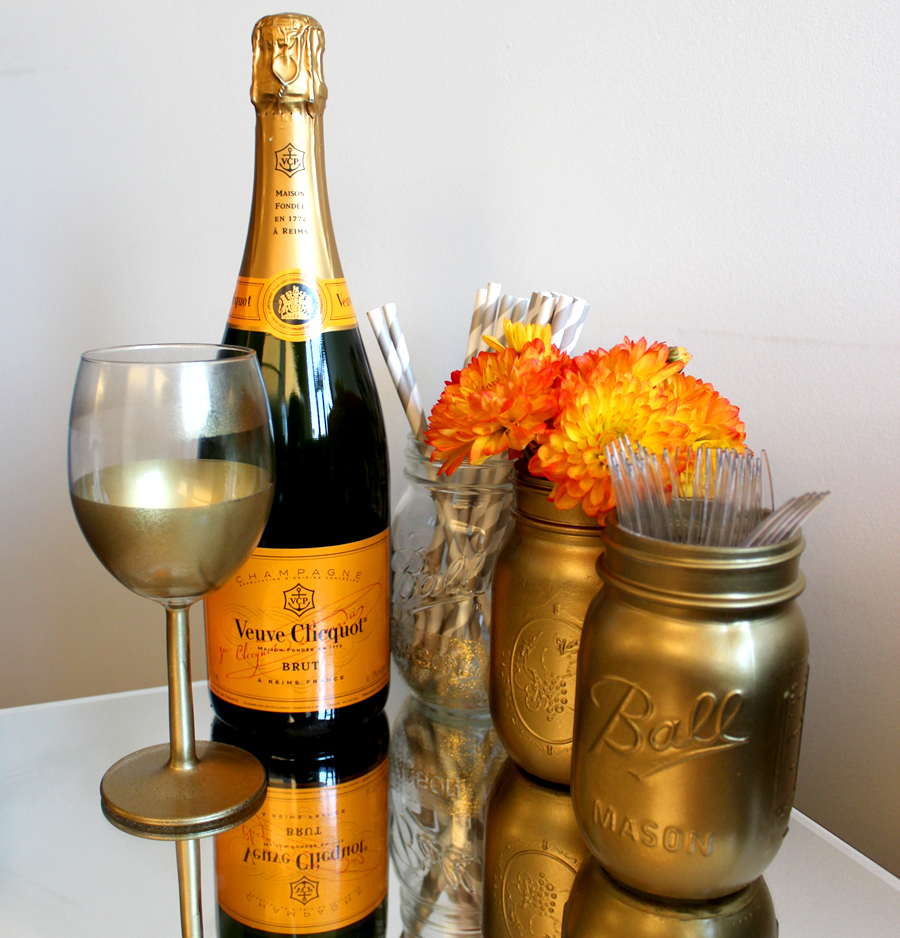
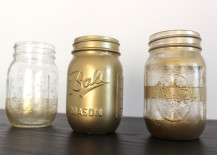
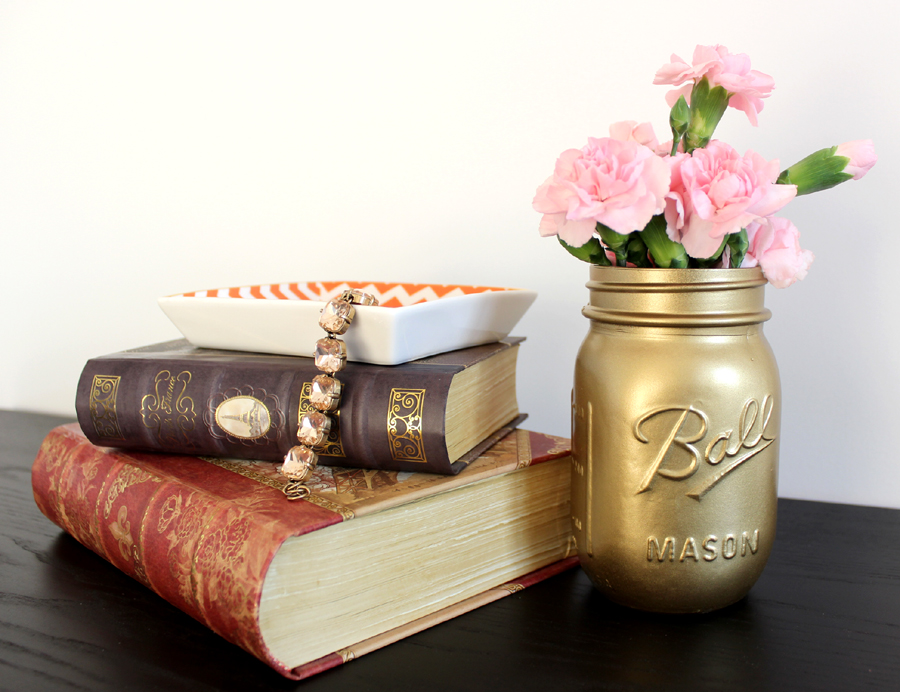
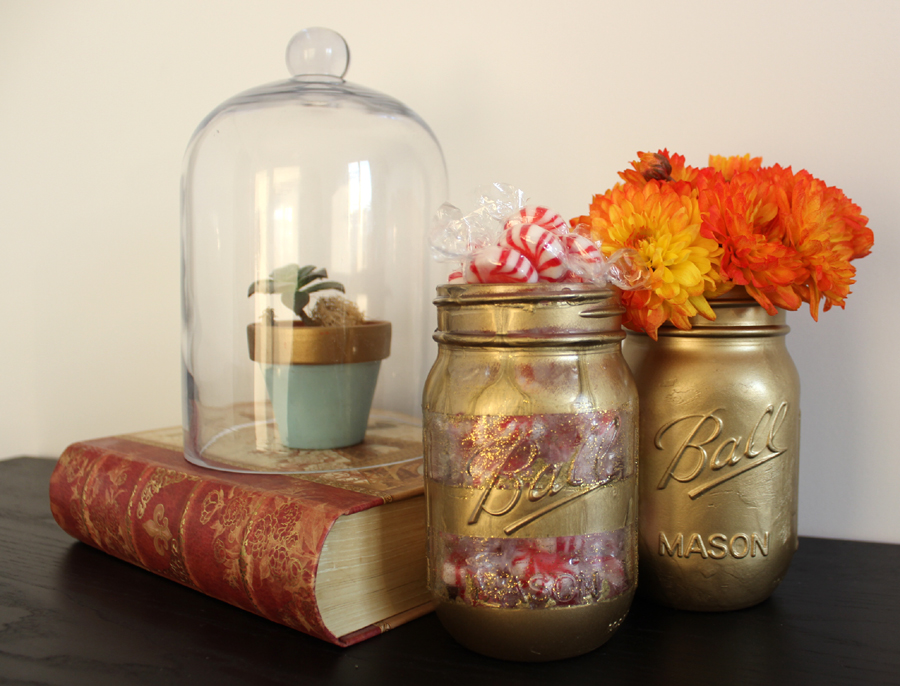
As you can see, I made several different kinds of gold mason jars: solid gold, striped gold and gold glitter. Solid gold is the simplest and is very easy to achieve, but I do have a few tips and tricks.
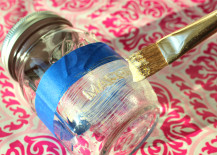
First, make sure you’re outside or in a very well ventilated room. You’ll also want to put down a drop cloth or newspaper unless you don’t mind gold flecks all over your floor. Be sure your mason jar is clean and free from any oils or residues.

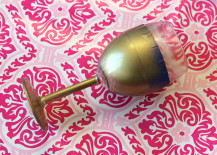
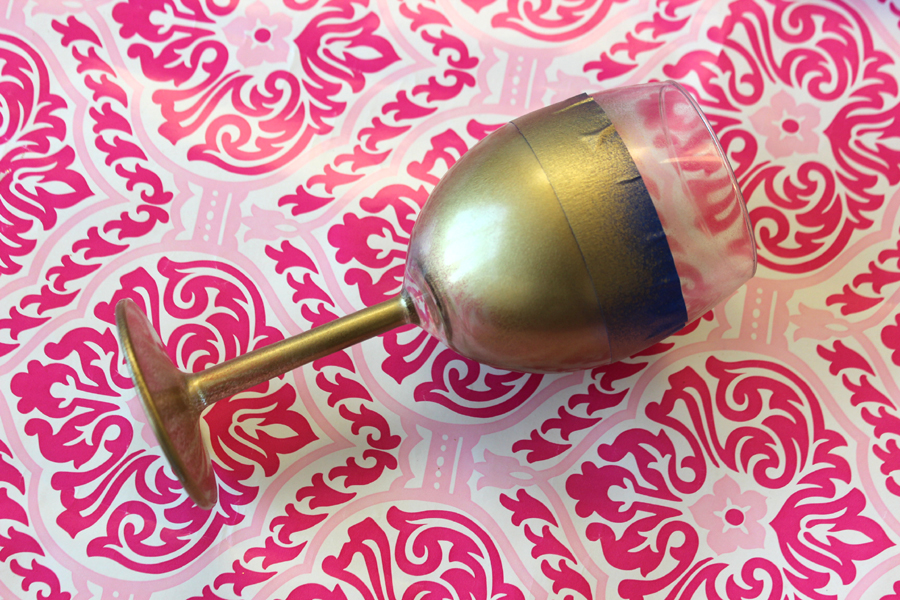
My main tip is to shake your spray paint can very, very well for at least two minutes before you use it. This will ensure an even color. It also helps to hold the can pretty far away from your mason jar (about 10″), and spray back and forth from left to right very lightly. If you spray too heavily in one spot for too long, you will get runny drips and globs. That’s actually what happened to my striped specimen (seen below), but I actually ended up appreciating the imperfect look. The wind also ended up blowing that one clear across the rooftop so it’s been through quite a lot. Let’s just say I was able to inadvertently achieve a “distressed” look with minimal effort.
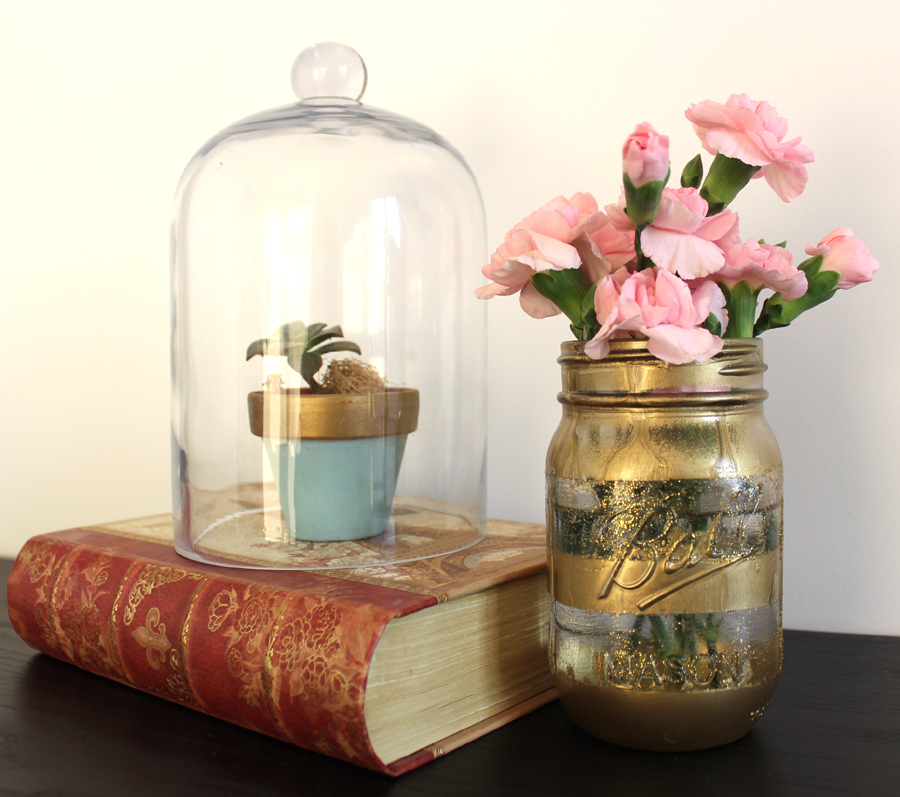
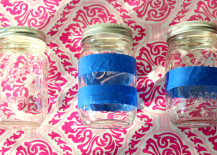
For striped or duo-tone mason jars, just use masking tape to mark off the sections you want to remain unpainted. Use your fingernail to ensure that the edges are adhered properly so you don’t have leaks.
If you aren’t ready to go full-on gold, how about some subtle spangles? Apply a few coats of glitter paint for a slight sparkle that adds just a hint of pizzazz to the otherwise homely mason jar.
And feel free to apply these techniques to other objects like glasses and cups (just make sure you only spray the outsides of anything that will be used to eat or drink from).
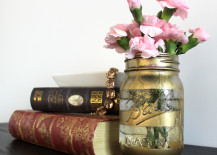
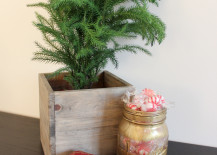
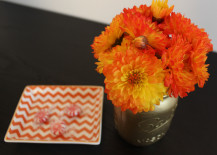
This DIY is incredibly affordable: about $1.35 for each mason jar (or free if you’re recycling jars you already have), $6 for spray paint and $5 for masking tape. When you’re done, use your gilded jars for everything from displaying flowers to holding utensils. The possibilities are endless!
How would you use gold mason jars in your home?