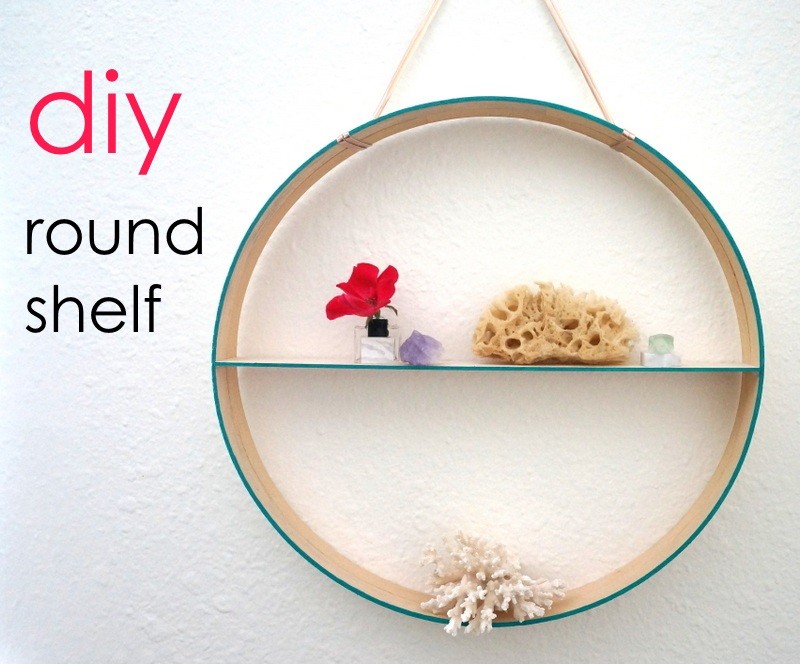
Looking for an easy DIY project that reflects several of today’s top trends? Round shelving is a current hit, along with mixed materials such as wood and metal. Add a dash of geo style, and you’re set! This DIY shelf can be created with a small number of affordable supplies in a few easy steps. No drilling or sawing required! Read on for all the details…

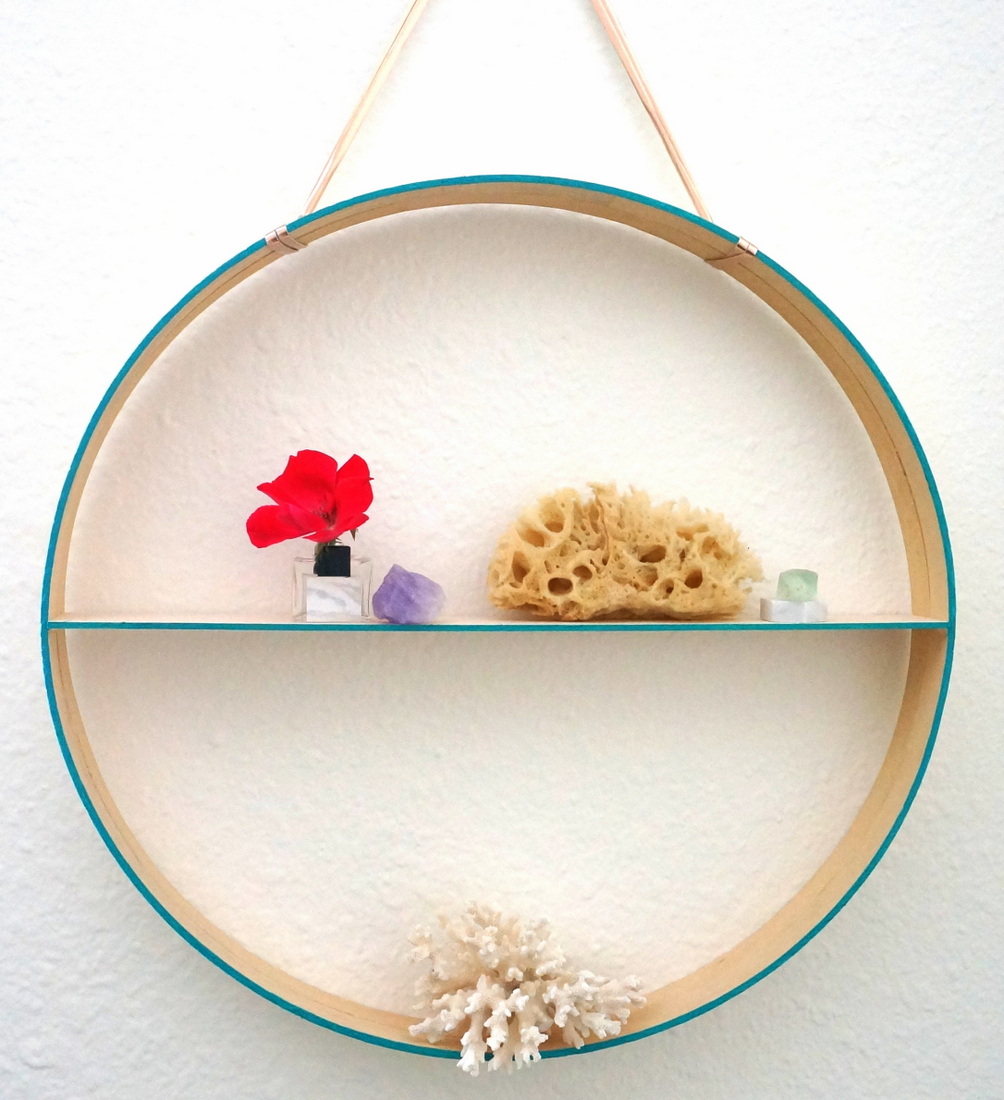
This round shelf is very lightweight and is therefore best for displaying small items. As you can see from the image above, you can get creative with the smalls that you showcase–just make sure they’re not too heavy! Let’s talk about what you’ll need to make this shelf work.
DIY Shelf Project Supplies and Steps
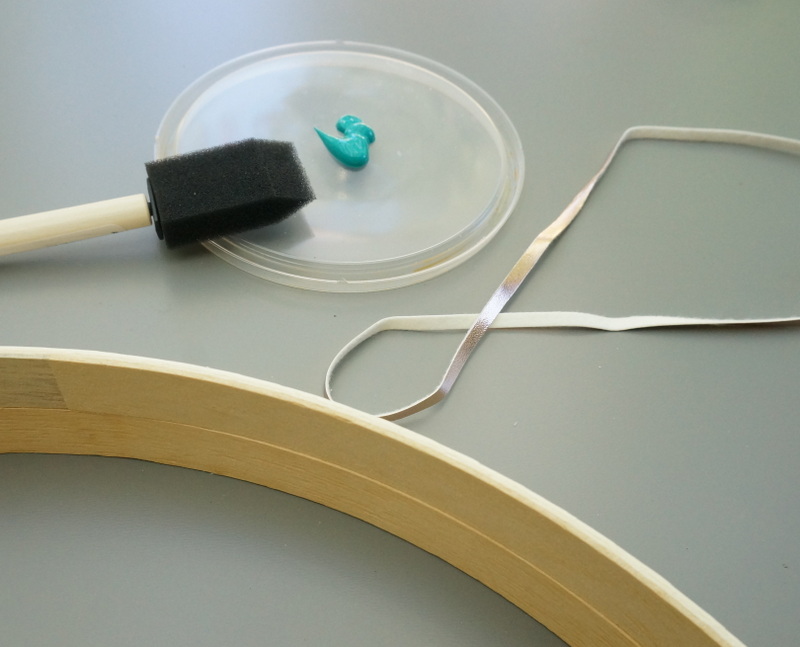
Here’s what you’ll need to get started…
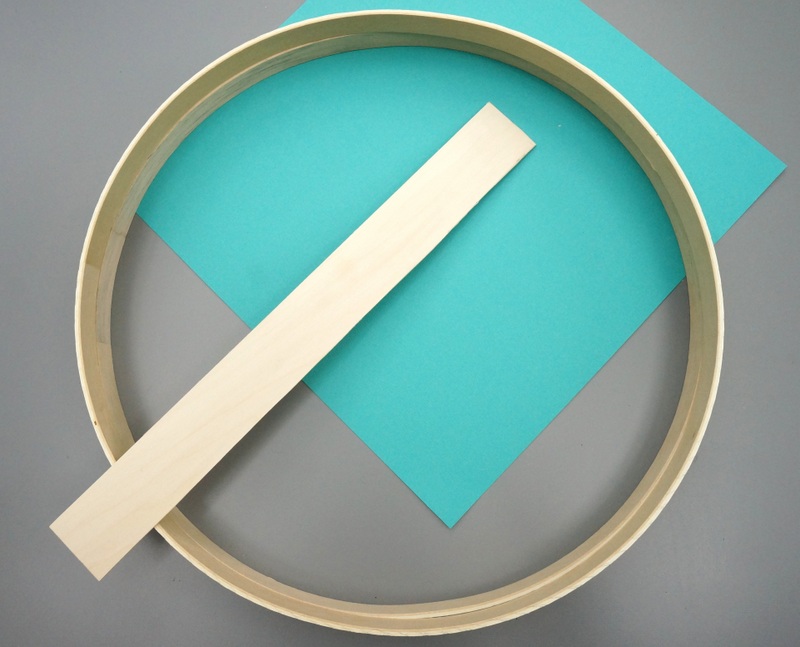
- two embroidery or quilting hoops
- lightweight craft wood, such as balsa wood or basswood
- an X-Acto knife
- leather cording
- a glue gun and glue sticks
- a ruler
- a pencil
- a glass mat or other protective covering for your work surface
- craft paint and paintbrushes (optional)

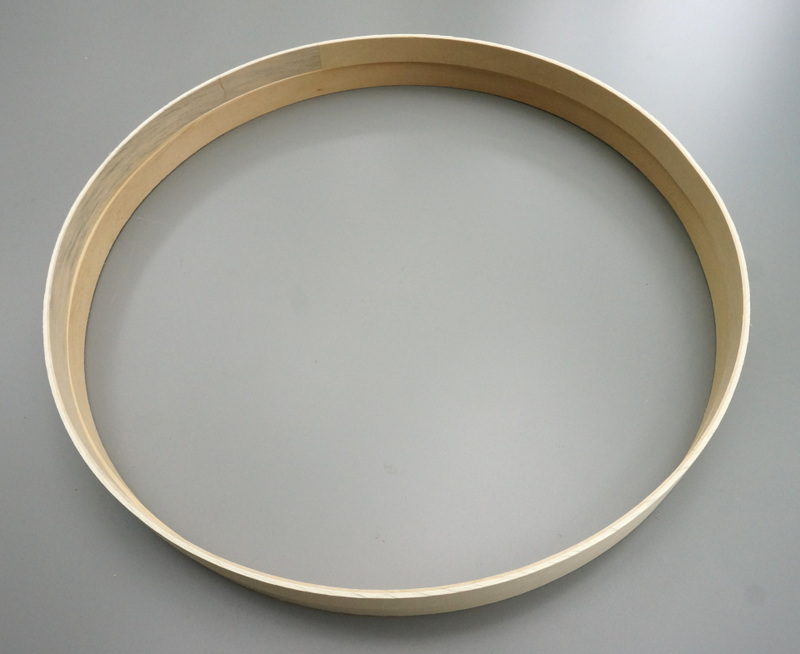
Balsa and basswood are inexpensive and can be found at your local craft store. I chose 14-inch quilting hoops for this project. You will need two hoops, because each “hoop” comes with two pieces. You will be using the inner pieces of each “hoop”–the pieces without the attached hardware. These have a smooth surface with a clean, modern look.

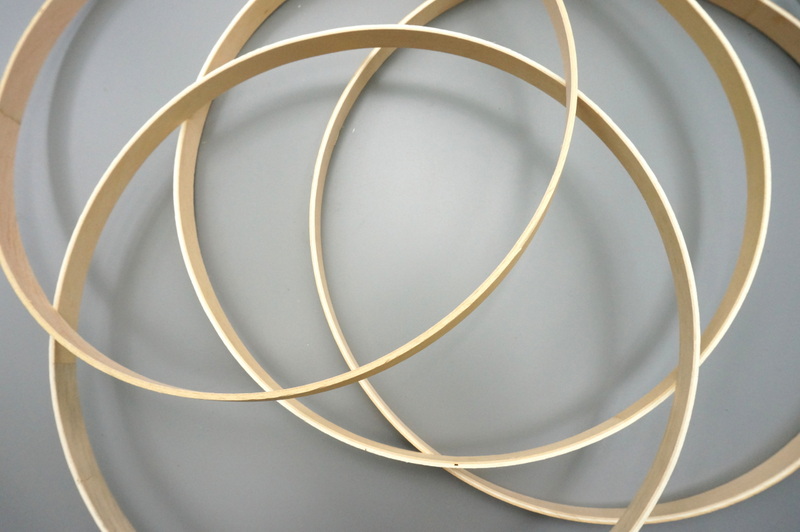
You will also notice that the hoops may vary in their coloring. This natural variation is normal. If you can, try to select hoops that match in their coloration, and preferably light hoops that match the tone of the craft wood you will be using for the shelf ledge.

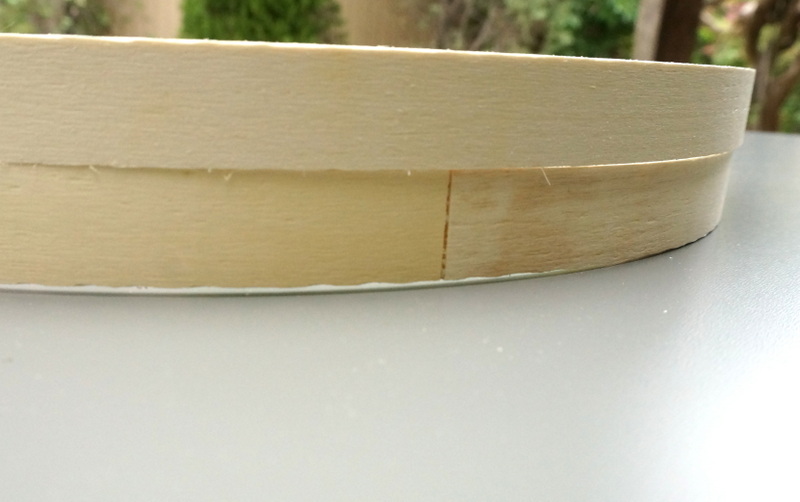
Step 1: Line up your hoops and position them as desired.
You will be creating your shelf by stacking two of the inner ho0p pieces on top of one another. Check both pieces for markings or other irregularities and position them in a way that minimizes flaws. For example, the inside of one hoop may have discoloration. Perhaps this hoop should be placed behind the other one so it’s less noticeable. At this point, you may wish to use a few dabs of hot glue to stick the hoops together. This can also be done during step 4 (more details to follow).

Step 2: Measure and cut your craft wood.
You’ll want the craft wood shelf ledge to be approximately the same thickness as the round part of the shelf. In addition, you will want it to be just a touch longer than the diameter of the hoop. You’ll see why in a minute.

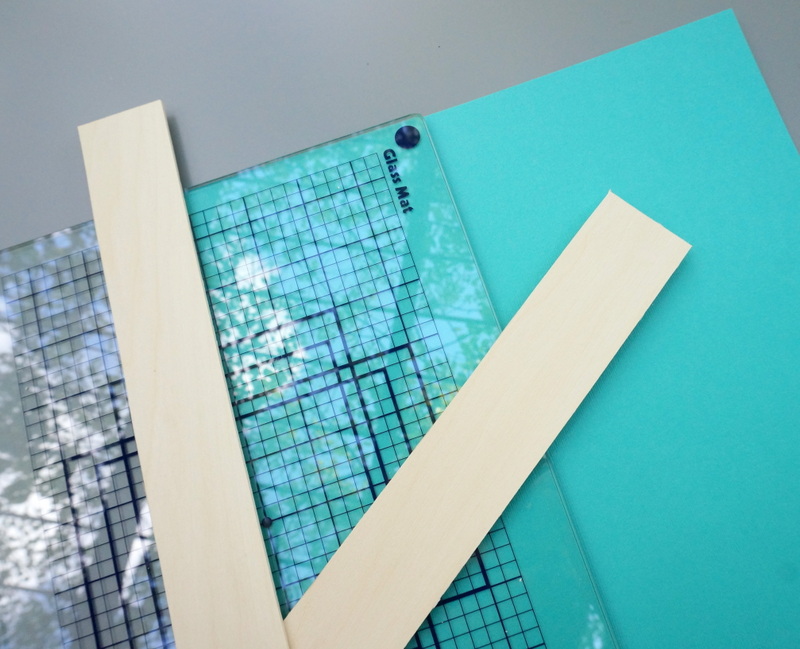
Measure the length and width of the piece you need, and use a pencil to mark the measurements on your craft wood. Now use an X-Acto knife to cut the wood. Make sure you protect your work surface. If you have a glass mat to place under the wood, even better. You don’t want the craft knife to cut your table!

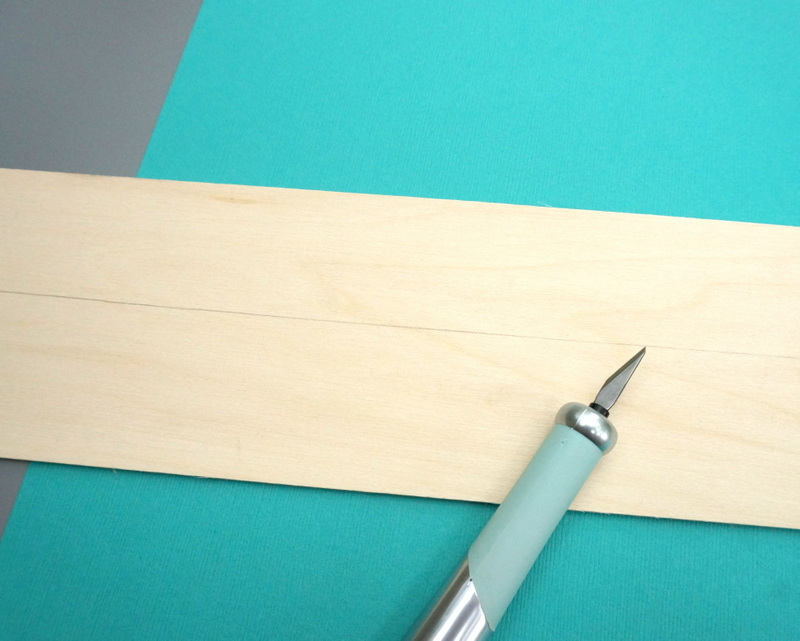
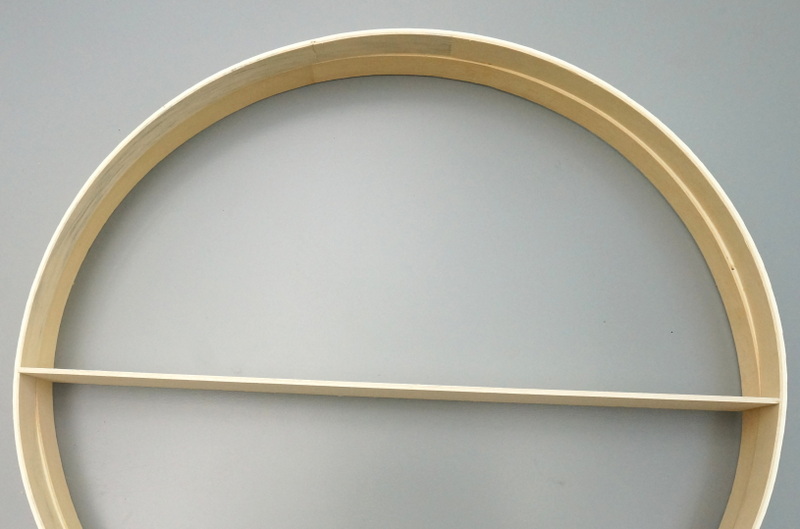
When you finish this step, you’ll have a piece of wood that’s ready to be positioned in the center of your round shelf:

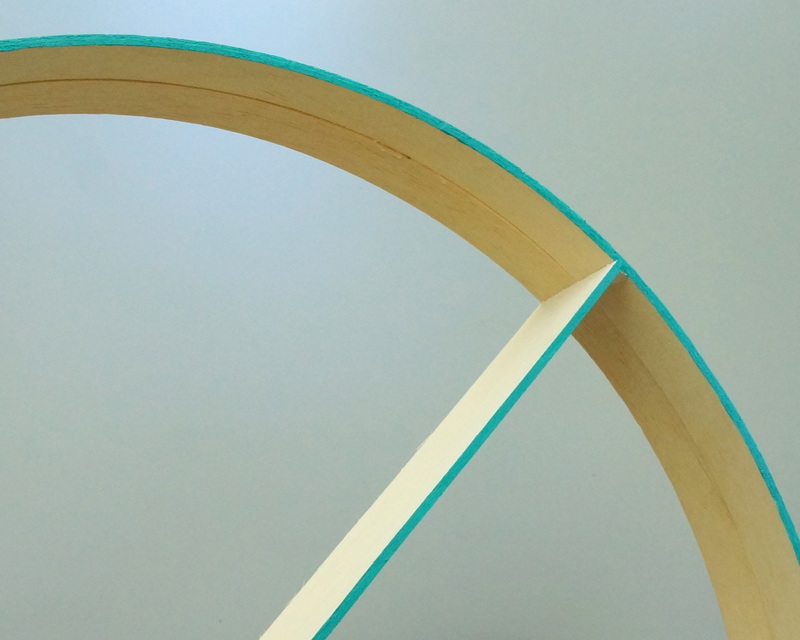
Step 3: Insert the wooden ledge in the center of the circular hoops.
Because the wooden ledge is a bit wider than the diameter of the hoops, it will stay in place with relative ease (and the hoops will bend to accommodate it). At this point, the shelf isn’t very sturdy. Don’t get discouraged if the hoops are loose, or if you need to readjust the wooden ledge within the shelf. Everything will take shape shortly!

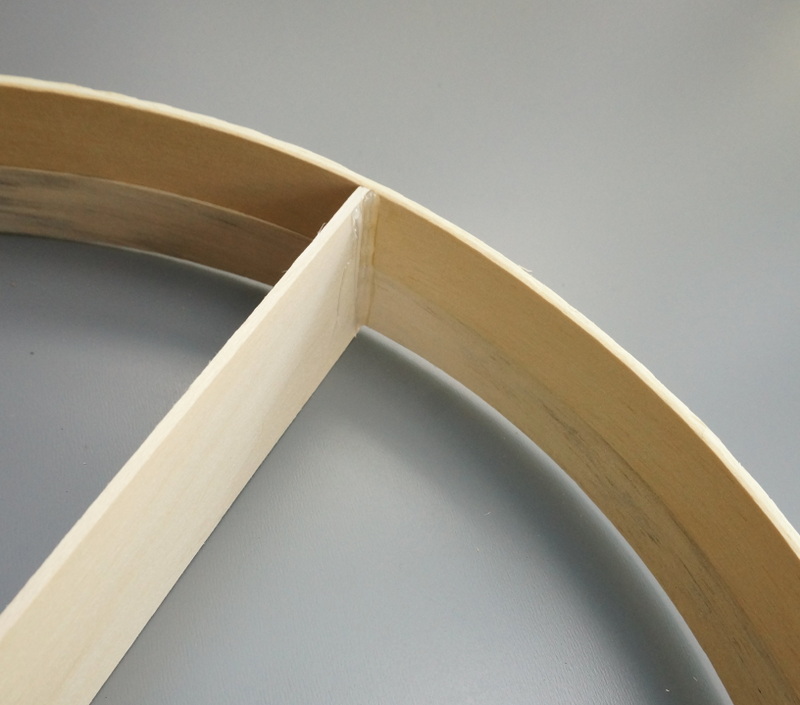
Step 4: Use hot glue to steady your shelf.
Yes, hot glue. Remember, this is a shelf for small, lightweight items. I placed a line of hot glue on the underside of my wooden ledge (where the ledge meets the hoops) to give it something to rest on, and to secure it in place.

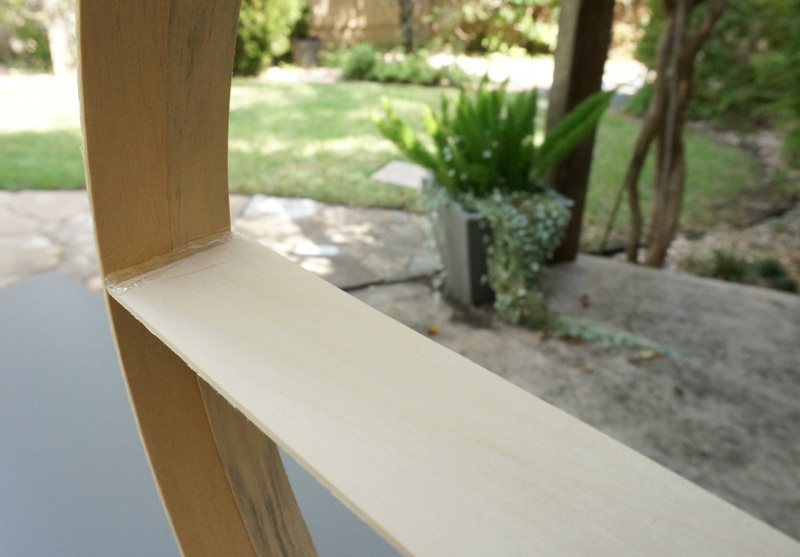
You can see another view of the hot glue addition below. At this point, I was also still able to wiggle the hoops a bit, so I added some dabs of hot glue in between them, then pressed them together to make sure they were secure. You can also glue the hoops together as part of step 1.

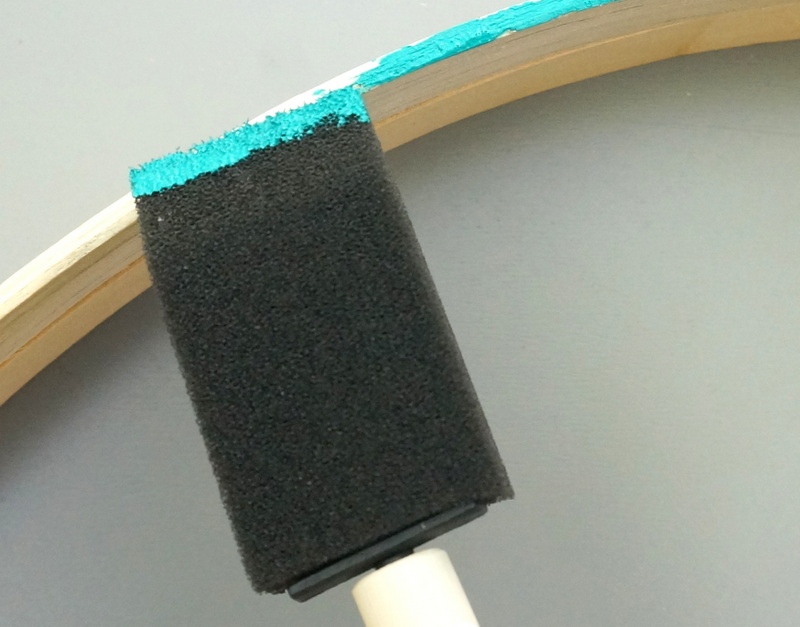
Step 5: Paint the outer edge of the shelf.
This step is completely optional. In fact, many of today’s most popular round shelves (including this one) feature a “natural wood” look. However, since my shelf was going to go on my white bedroom wall, I wanted it to really pop.

Plus, I love the way the teal looks with the rose gold faux leather straps. In terms of the painting, I used a foam brush, taking extra care to ensure that the brush wasn’t saturated with paint. I kept the brush parallel to the edge of the shelf, and I used light strokes to apply the paint. As you can see, I didn’t use painter’s tape to prevent the paint from dripping. I just painted carefully.

I was pleased with the end result–it was just the pop of color the shelf needed! You may choose to paint your entire shelf if you wish. For example, the shelf would look amazing with two tones–one for the outer edge and one for the inner surfaces.

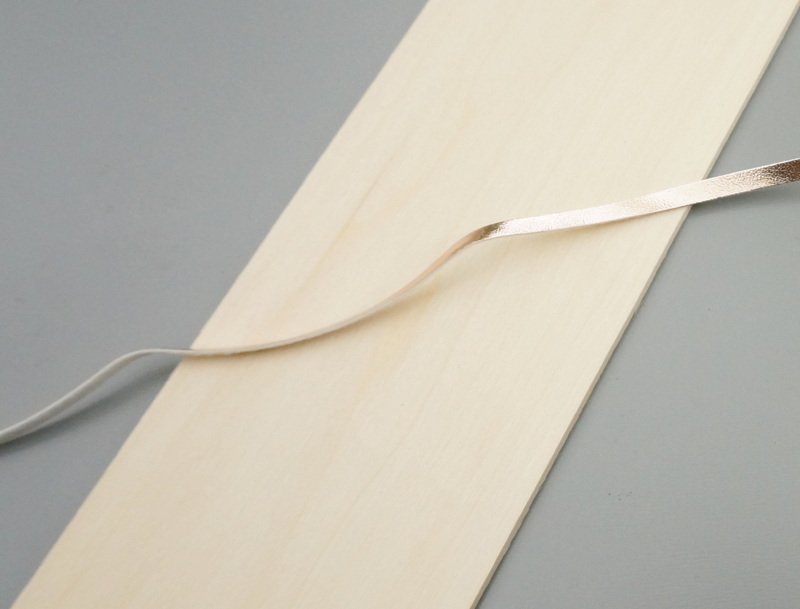
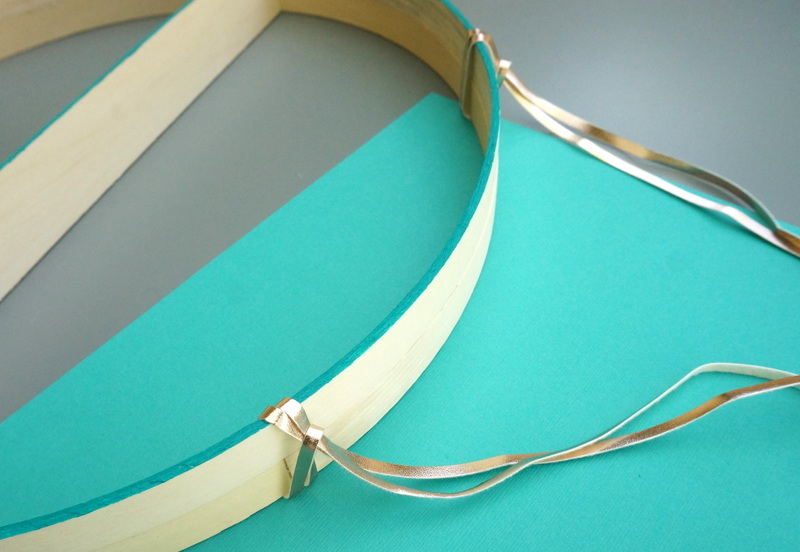
Step 6: Attach the leather straps to your shelf, and hang it on your wall!
As mentioned, I used faux leather straps in a shade of rose gold, but you can use any strap or cord material that you like. The thicker, the better, although I got away with a thinner strap because my shelf is only holding a few lightweight items.

Here’s a shot of the finished product:

Styling Your DIY Shelf
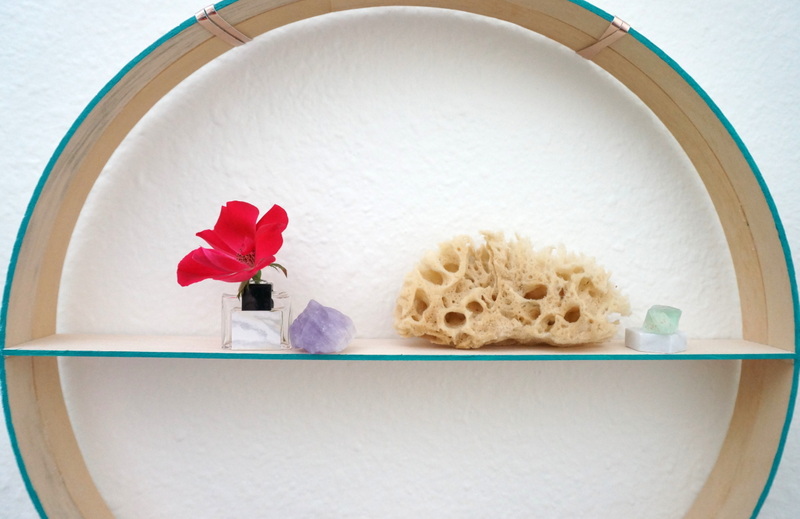
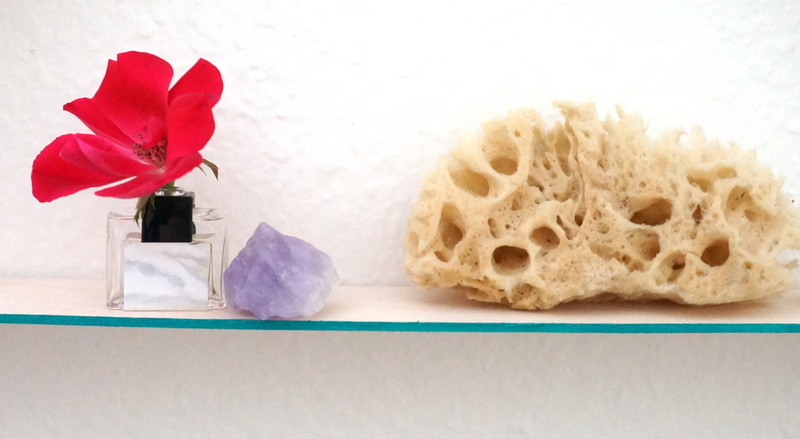
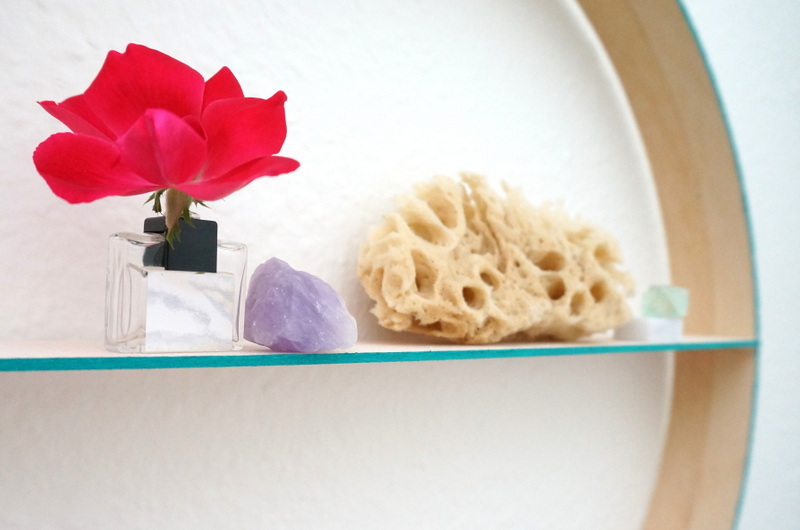
Just what can you display on this modern shelf?! Lightweight items of the quirky and petite nature! As you can see below, I placed a flower in a small vintage perfume bottle, then added an amethyst specimen and a sea sponge:

I also love collecting tiny marble tiles, which I use as pedestals for small crystals. Lightweight rocks and minerals are ideal display items for your shelf. Wooden objects and porous items also do well here. Use your imagination and have fun creating interesting vignettes.

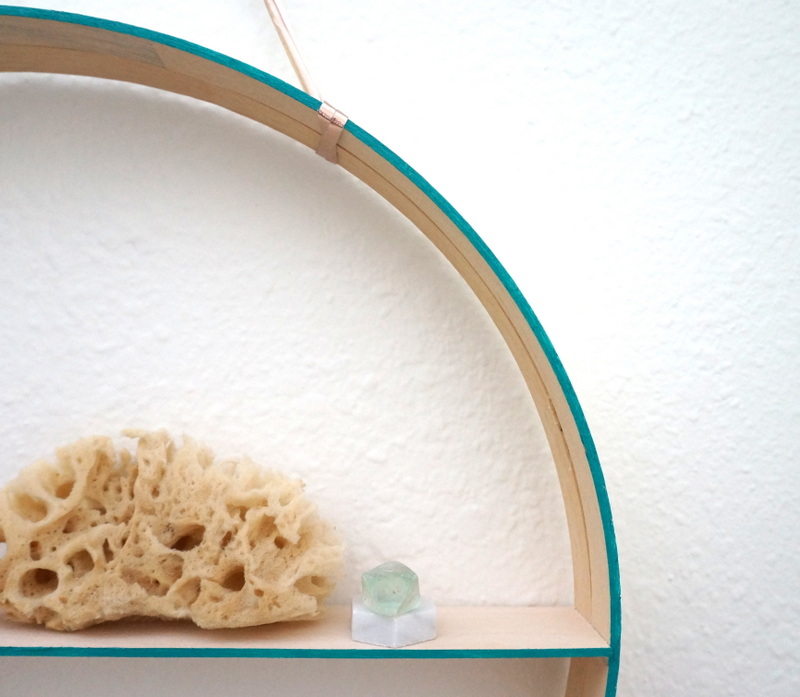
If you’re unsure if an item is too heavy to display, test it out. If the wooden ledge of the shelf seems to bend, you’ll know you’re approaching the weight limit.

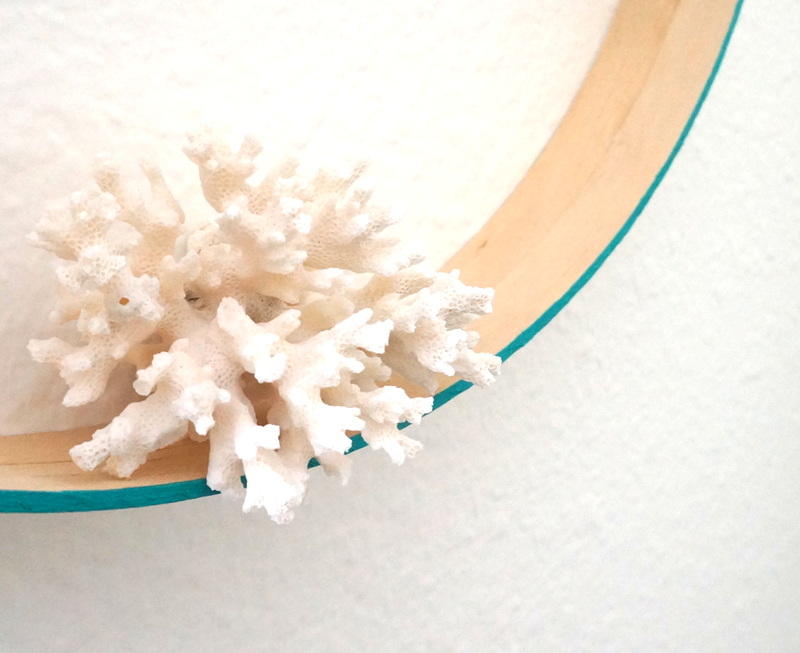
I placed a coral specimen on the bottom curve of the shelf and found that it really helped anchor and stabilize the entire display. In fact, when you place an item on one side of the shelf, you will likely need to match its weight on the other end.

Do you have a blank space on your wall that’s just waiting to be filled with a decorative yet functional geo statement? Give this project a try!


If you do create your own DIY round shelf, I hope you enjoy the process as much as I did. Thanks for joining me for my latest DIY adventure!