There are some things I actually don’t like to purchase, and they’re not groceries! I have always thought that the idea of buying coasters seemed so silly and weird! It’s hard to find nice ones, and when I do find some I like, they cost a small fortune. And if I’m going to be using them strictly to place my drinks on, I don’t believe they should cost very much. Am I right?
So what does one do in this situation?
Make her own, of course!!


These coasters cost me a solid $2! How’s that for not spending a fortune? I thought I did pretty well.
They cost so little because I already had many of the materials on hand – all except for the coasters, oddly enough! Here’s what I used:

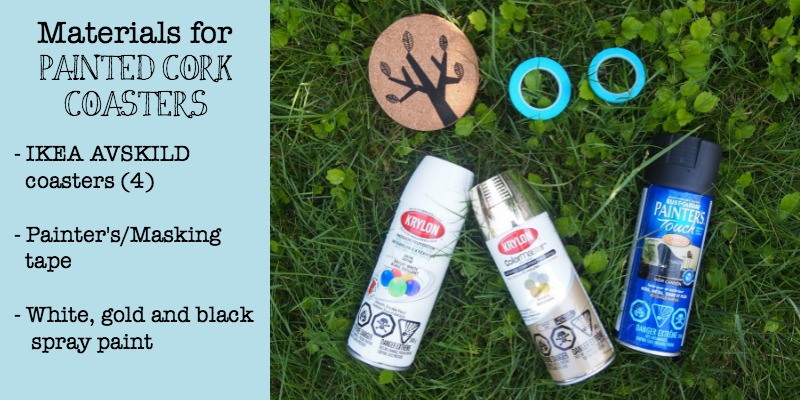
The IKEA AVSKILD coasters are $2 and you get 4 of them. That’s a steal, if you ask me! I bought two packs (just in case I messed up) and brainstormed what I could use that I already had around the house. Black, white and gold spray paint are basically staples in my household, so that was easy. The tape was used for a project over a year ago and has been sitting ever since. It’s painter’s tape, but cut very thinly – it’s meant for small crafts. I believe it’s made by Martha Stewart, but really any tape would do the trick here!
You’ll want to be outside or somewhere well ventilated when spray painting for safety reasons. When you have that down, you can get to work.
First a coat of paint all over:

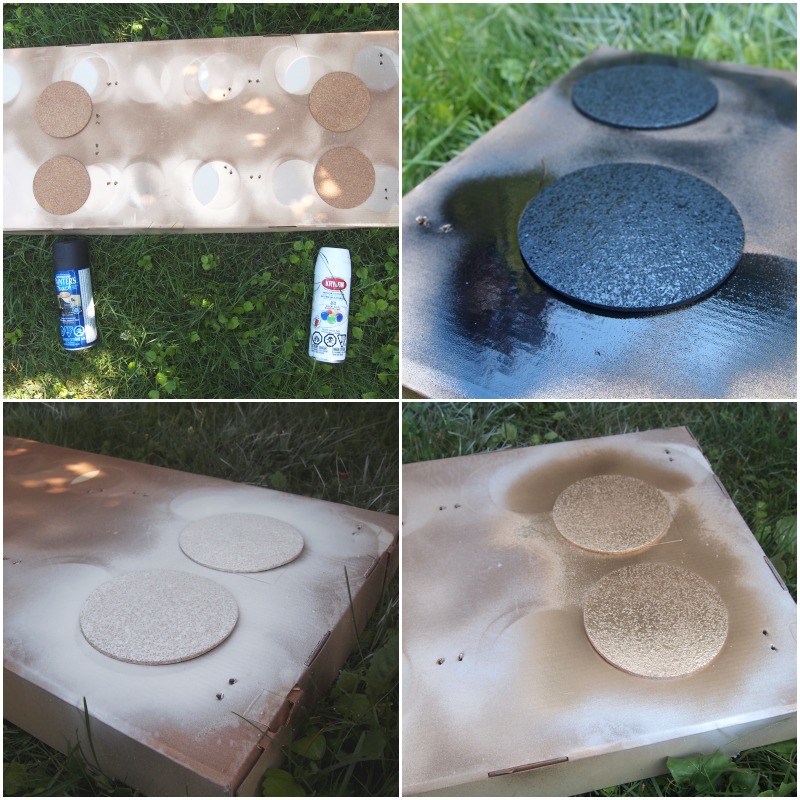
It looks like there are 6 coasters up there, but really, I just painted over the white ones in gold, I didn’t love how the white paint sat on the cork and the gold was way better!
Next, tape your pattern or design:

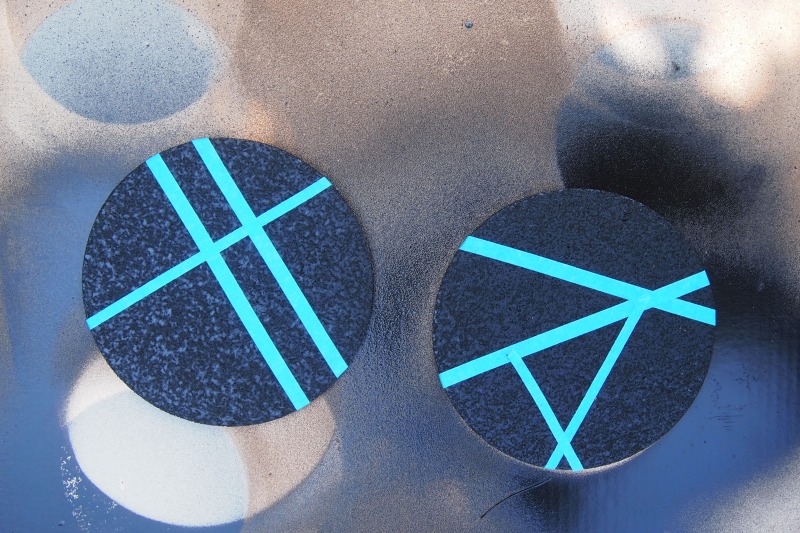
Make sure the paint has sat to dry for at least 15 minutes before adding the tape! It’s a very important step. Now you’re ready for spraying once again, as long as it’s in a different colour, of course!
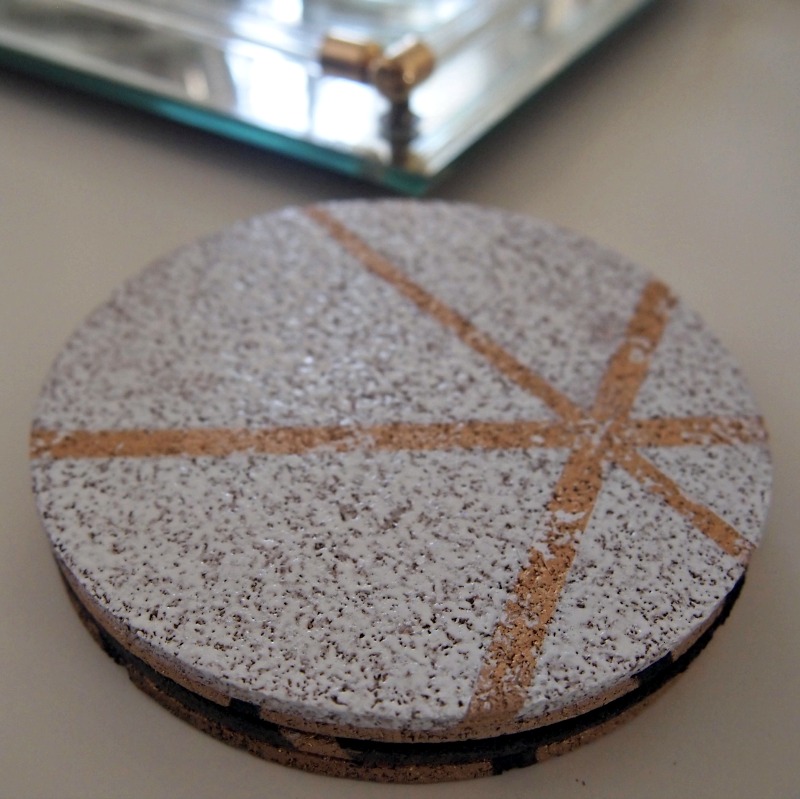
Let the paint dry for 5-10 minutes (so it’s dry to the touch) and peel off the tape to reveal your masterpiece!

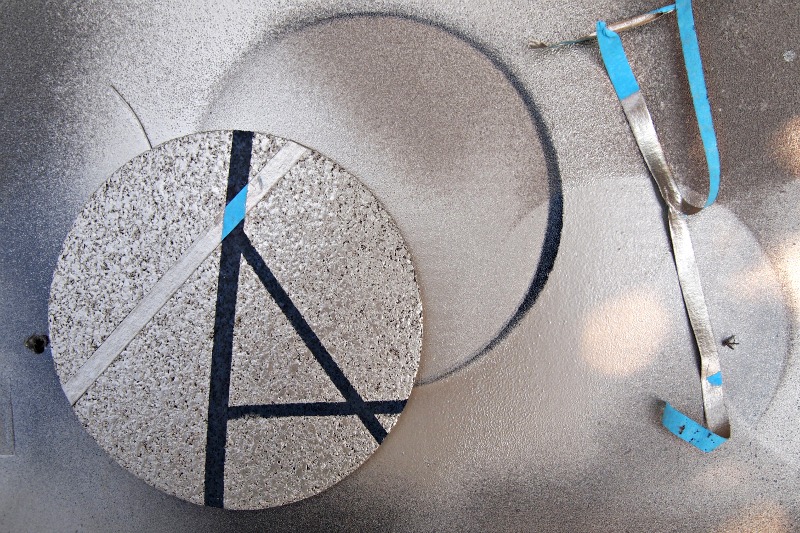
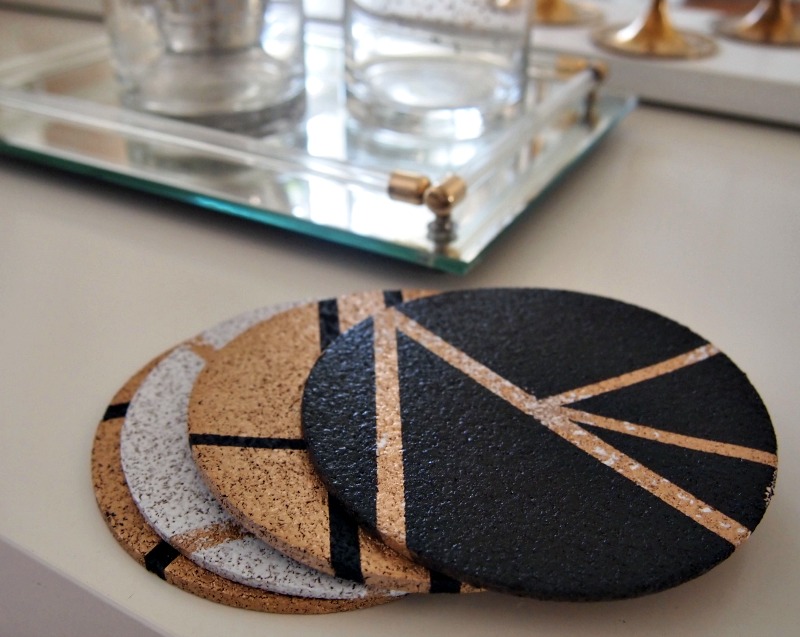
Not too bad, right? Don’t worry too much if your edges aren’t perfect. It’s cork, so you’re bound to get texture coming through, like you see in some of the other coasters.

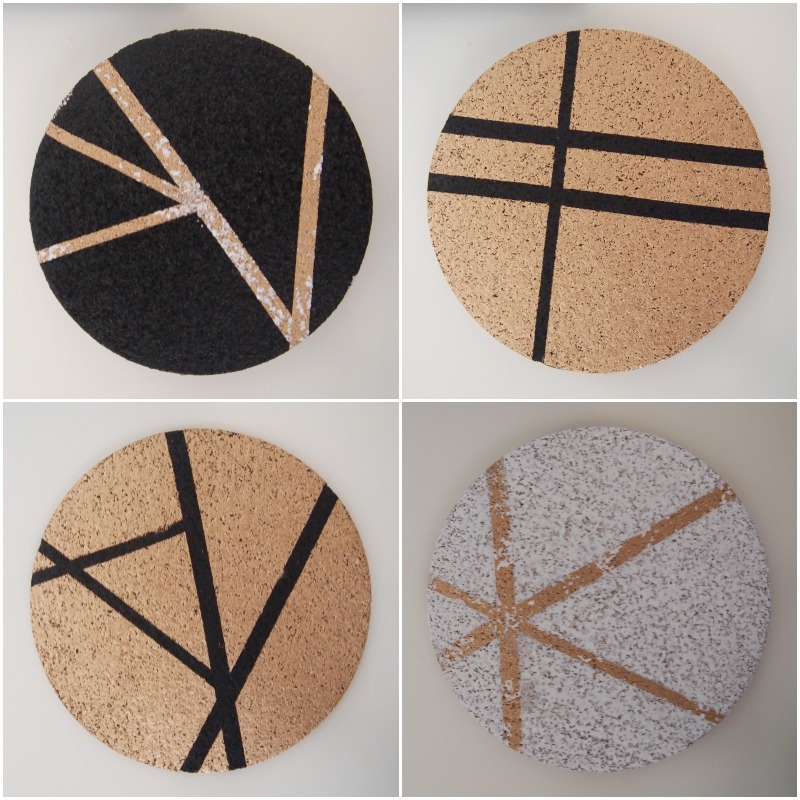
I gotta tell you, I thought I’d hate the imperfections, but then I liked them! I do wish that there were more of them on the black and gold ones, if I’m going to be honest! But hey, live and learn.
Here they are from the side:

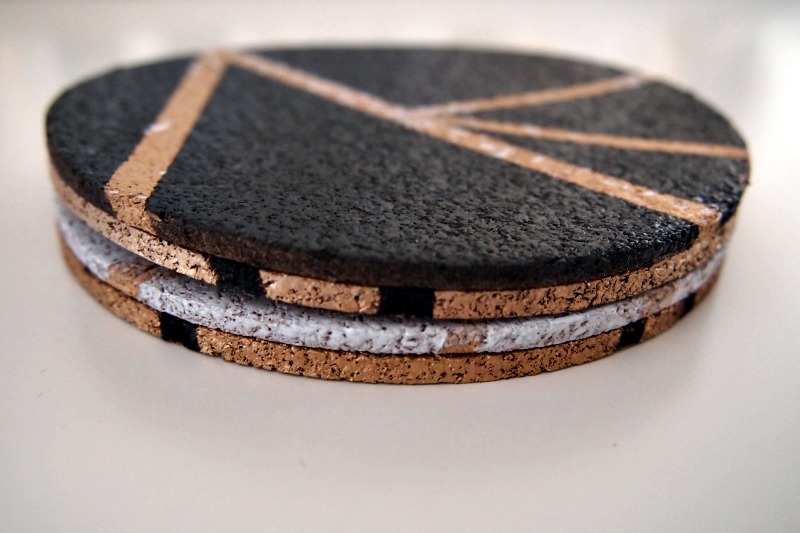
The lovely thing about these is that they are easy to use anywhere. I can take them outside, keep them indoors, use them in the Winter or Summer. I can work with coasters like these!

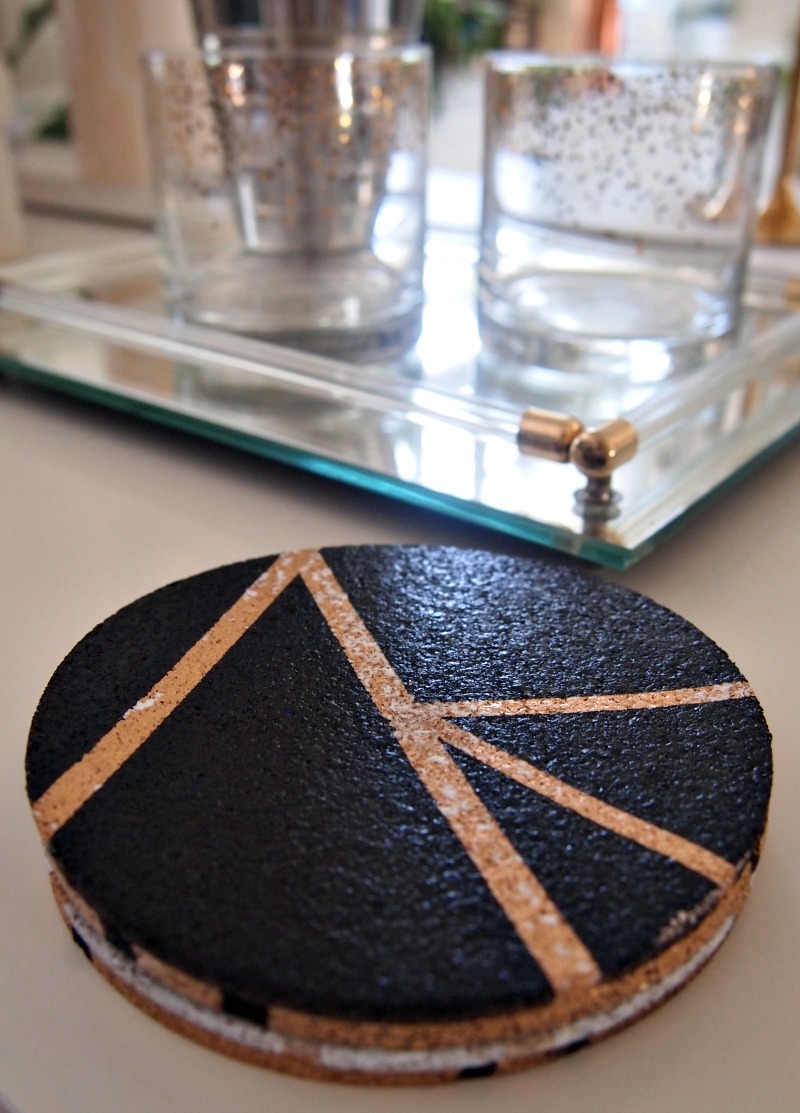
The gold does look a lot like the actual cork itself depending on the light, but it shimmers, as gold tends to do, so it is a lot more special in person than I can capture in a photograph.

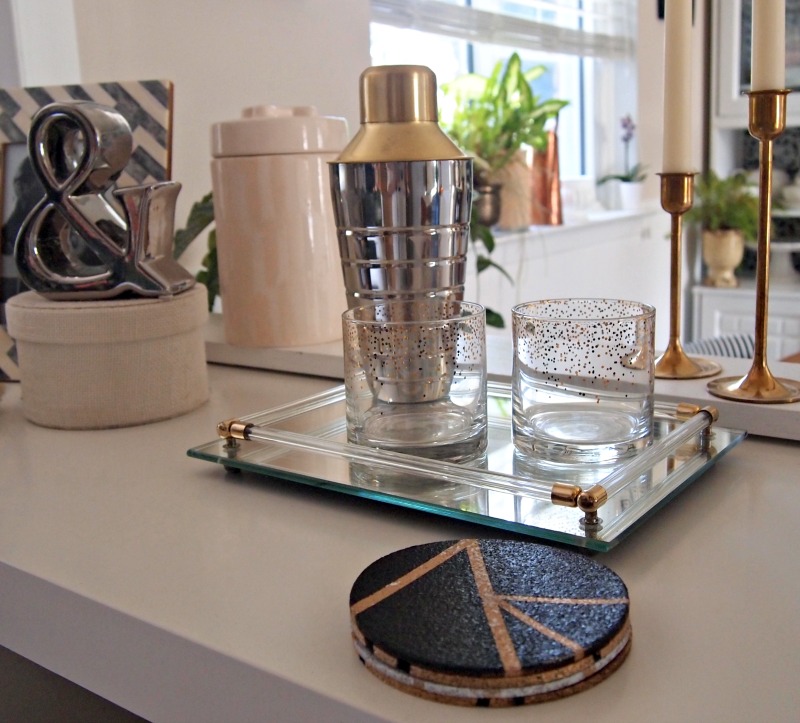
I’m loving their texture and how they pop next to some of my other brass and gold accessories at home. You can probably see now that using gold is pretty typical around my house! And again, up close, the texture/shimmer combo is oh so lovely!

Now the question is, what to do with the other 4 coaster, since I didn’t really mess these up! Well, I think I might just try this again and add to the coaster collection because I do think these would be perfect to have as a backup when we have lots of people over, or if one of these ever gets damaged.

Cross your fingers for me on the damage thing, though… I really don’t want that to happen.
So, any suggestions on what I should try with the next batch? Fire away!!