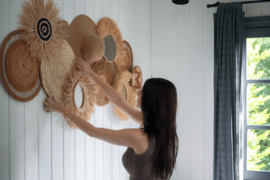
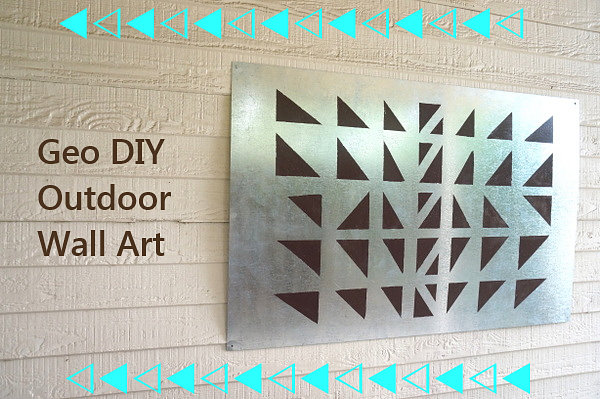
Greetings, Decoist DIYers. Today I’m sharing my latest project, a geometric wall art creation that you can adapt to fit the needs of your space. This basic concept for outdoor art has many applications. I used sheet metal and an earthy shade of brown. Perhaps you will opt for wood and a vibrant turquoise hue! The second half of today’s post is dedicated to the evolving DIY project. Did you ever create a finished product that you continued to tweak as the weeks passed?

Sometimes our ideas ripen with time, and we choose to update our artistic endeavors. From the cinder block bench I created as part of my front porch makeover in April to the modern trellis update I blogged about at the end of last month, I’ll end with a few shots that document the evolution of these projects. Let’s get started with the DIY wall art…


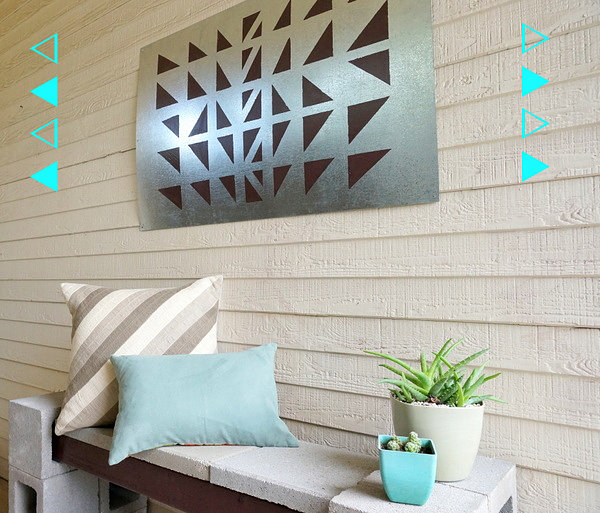
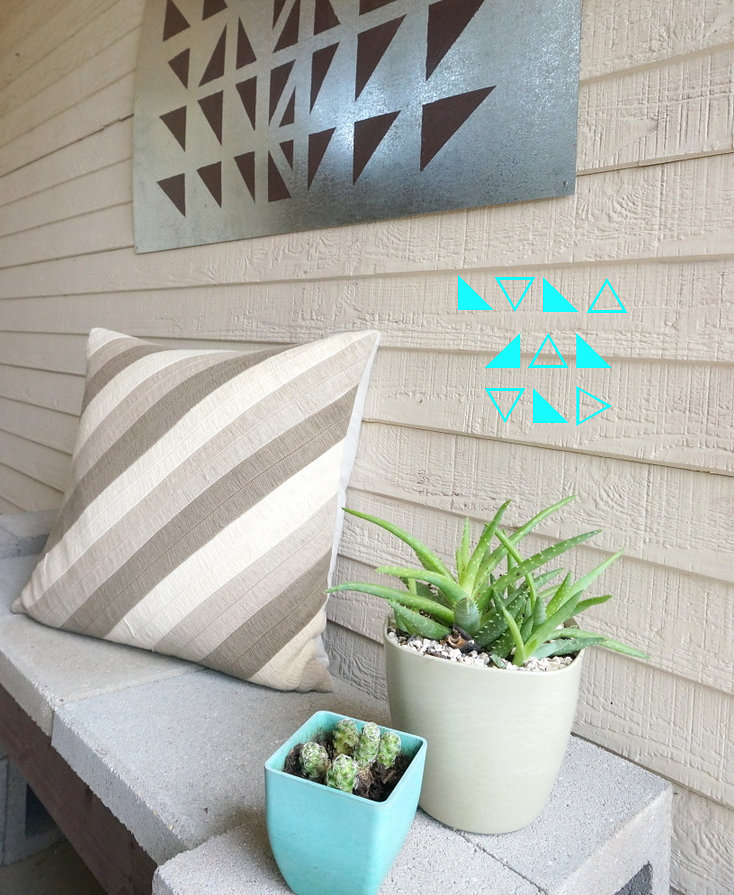
Geo Outdoor DIY Wall Art
Since this project can take on many forms, there’s no definitive list of supplies, but here are some basic tips:
- Gather a sturdy “canvas” that can weather the outdoors, as well as painter’s tape, scissors, a ruler, and the paint of your choice. You may also need to drill holes (for nails) or attach mounting hardware to the back of the artwork for hanging purposes.
- For the best results, consult with an expert at the home improvement store as you purchase your supplies. Ask about the ideal paint for your surface of choice, and check to see whether or not you will need a primer and/or sealer. For example, spray paint is a good choice for metal surfaces.
- You will be using painters tape to help create a geometric design. Perhaps you will choose to sketch out your design beforehand and precisely measure each square inch. Or you may decide to approach the project a bit more freely. I chose a path that was somewhere in between!

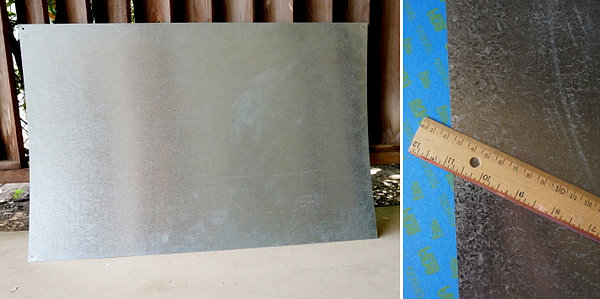
My surface of choice was pre-cut sheet metal. My husband has stacks of metal sheeting in our garage–yes, I got lucky on the supply front. He once used them as magnetic frames for his wall art, hence the pre-drilled holes.

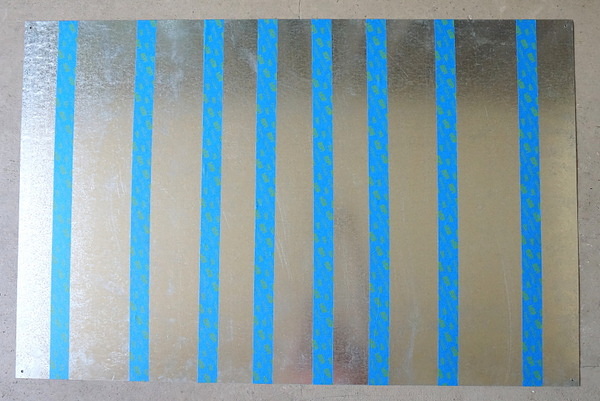
Step 1: Whatever surface you choose, begin by taping a series of vertical lines across your “canvas”. I used a ruler to ensure that they were evenly, symmetrically spaced. The stripes created by the tape got narrower as they approached the center of the metal sheet.

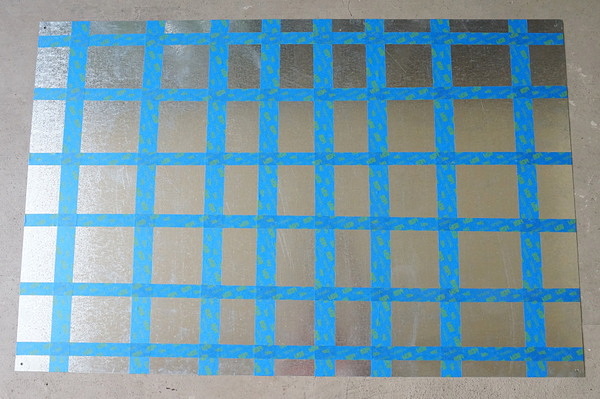
Step 2: Tape a series of horizontal lines across your “canvas”. Again, some level of precision is helpful in creating an eye-catching design.

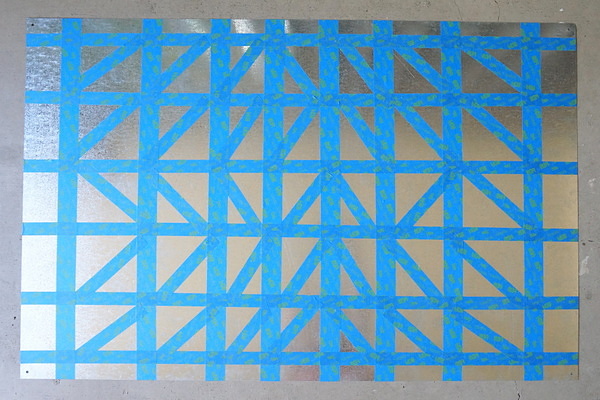
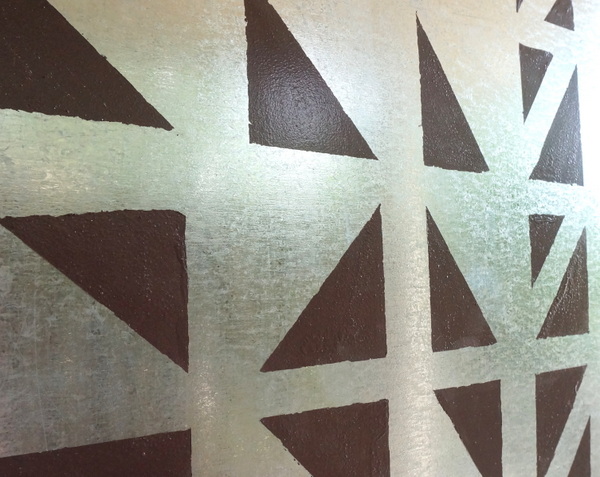
Step 3: Tape a diagonal line inside of each rectangle. This will create triangles in your design. I chose not to make my design perfectly symmetrical and to leave some room for spontaneity. I was happy with the result!


Step 4: This step varies, depending on the surface you choose, as well as the type of paint involved. For example, if you use spray paint, you will want to cover with tape every part of your canvas that you do NOT want painted. If you are applying paint by hand, you can simply fill in specific areas with a brush.

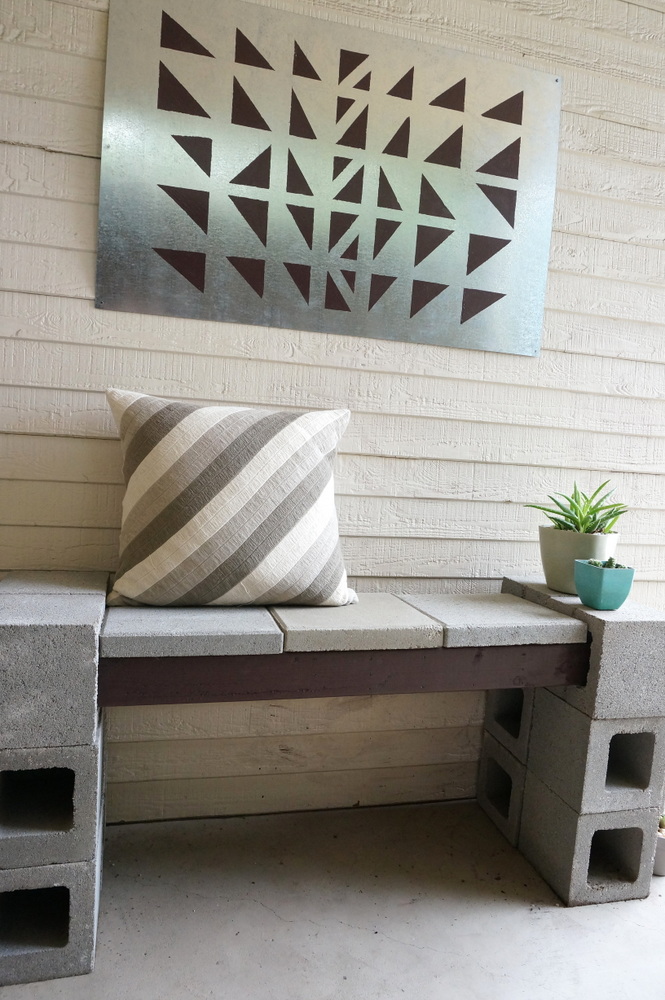
I’ll be honest, folks–I used a glossy latex paint and did not prime my surface. This was helpful to me, because I was able to honor my tight budget and use what I had on hand. However, I would not recommend this combo, as the latex paint did not adhere well to the metal surface, and as I pulled off the painter’s tape, some of the paint went with it. A few touch-ups fixed the problem, but next time, I’ll use spray paint. All in all, I was very happy with the end result…

If you remember my front porch makeover from earlier this spring, you may notice that I’ve updated the look as summer has gotten closer. In the next section, I’ll share a couple of DIY updates!

The Evolving DIY Project
Let’s take a look back at my front porch in April. See the cinder block bench below, and the outdoor wall art created with rolled moss? I decided to create more contrast on the porch by adding some darker tones. The second image reveals the changes that have taken place:

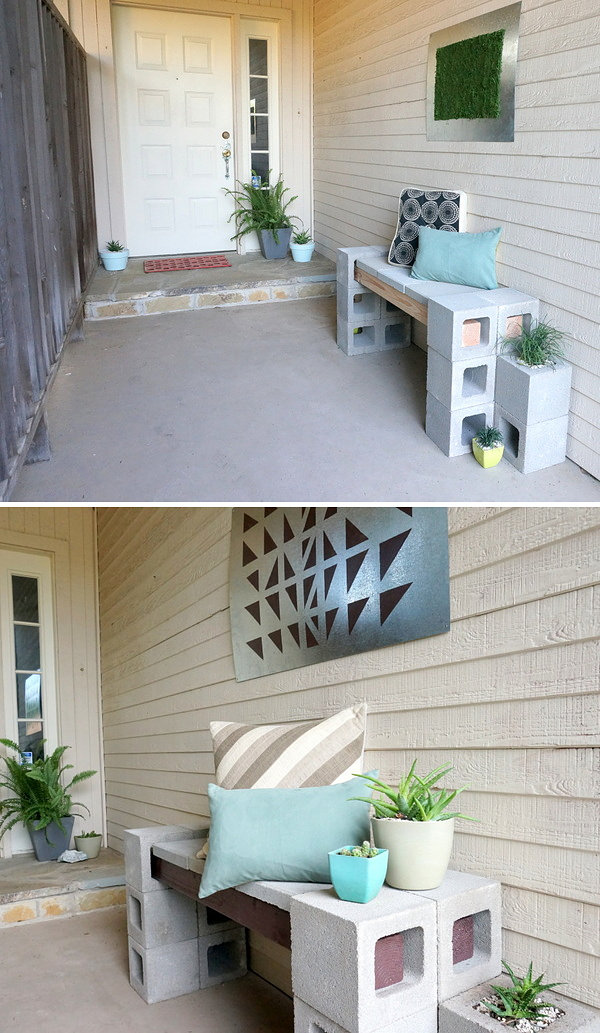
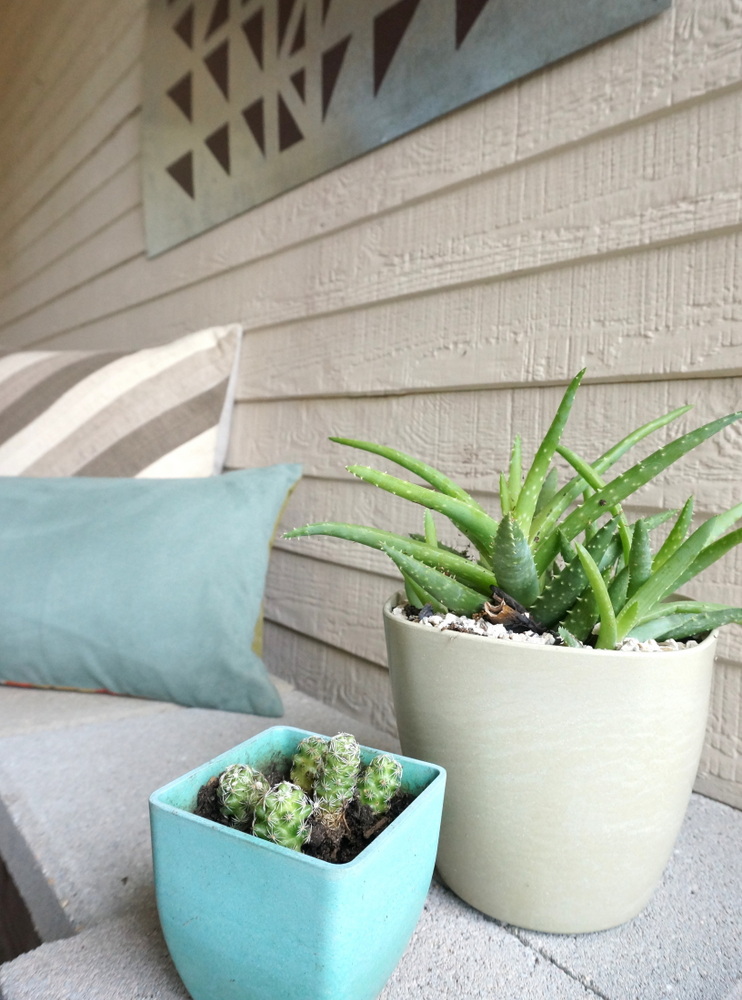
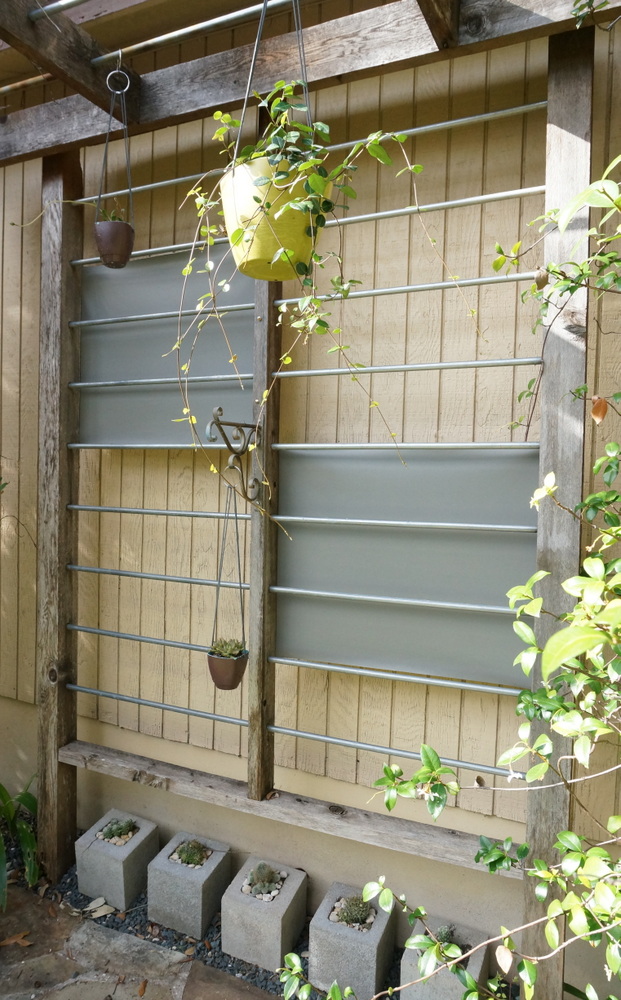
You’ll notice above that I painted the wooden beams of the bench a shade of rich brown–the same color used in the geo wall art. I wanted to add depth to this space with darker hues. Turquoise accents prevent the neutral tones from taking over. I’ll share one more change–I updated my modern trellis! In the first pic below, we see a light gray vinyl fabric stretched across portions of the two panels. Folks, it was looking a little too blue (I was going for a strong gray), and it started to get on my nerves…

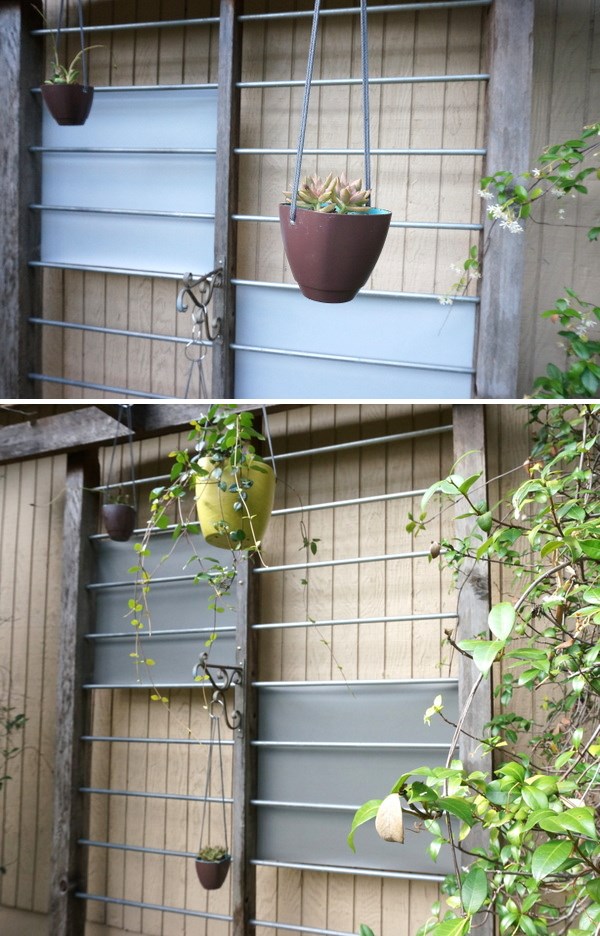
I know–I replaced gray with another shade of gray! But check out the bottom pic above. Somehow this richer tone just made more sense in the space! There’s more contrast and less of a weird blue glow. My hubby loves it, I love it, and the best part is the fact that I purchased the new fabric for $5.00 total. That’s how I justified giving the trellis a second makeover!

Do you ever take a second look at a DIY project you’ve completed? Doesn’t it make sense that as our tastes evolve, our projects might evolve as well? If you’re not happy with the results of a project, don’t view it as a wasted effort. You learned something in the process. Give it an update, and watch your space transform!

Happy crafting!